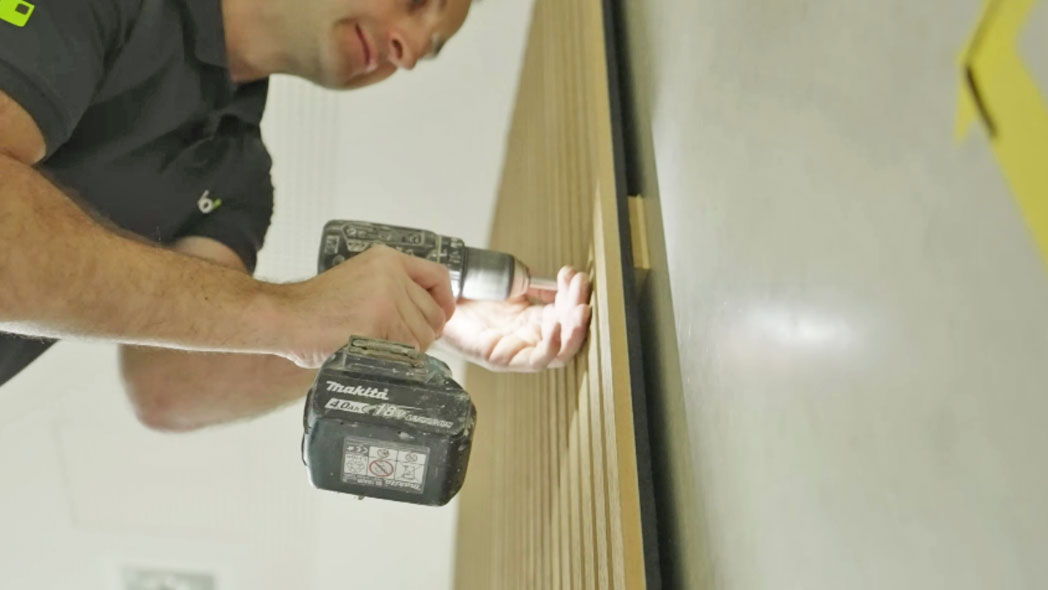
Acoustic panels offer two major benefits for your space: noticeable sound dampening and improved acoustics, alongside an aesthetic wall design. For both qualities—visual and acoustic—the question arises: is it better to use adhesive or screws to install your acoustic panels? In this article, we’ll cover the advantages and disadvantages of both methods and provide clear instructions for each approach.
Content
- 1 Adhesive or Screws – A Matter of Preference?
- 2 Adhering Acoustic Panels: Which Adhesive Is Best?
- 3 Screwing Acoustic Panels: Which Screws Are Suitable?
- 4 Screws vs Adhesive: A Quick Overview of Pros and Cons
- 5 How to Attach Acoustic Panels with Adhesive
- 6 Step-by-Step Guide for Adhering Acoustic Panels
- 7 Screwing Acoustic Panels: Drilling for Security
- 8 Screwing Acoustic Panels: Step-by-Step Instructions
- 9 Conclusion: Manageable Effort, Significant Impact
- 10 Experience the best service with planeo - because you need it!
Adhesive or Screws – A Matter of Preference?
Most walls and acoustic panels are suitable for both mounting methods, making it largely a matter of preference whether you choose screws or adhesive. We’ll go into the specific advantages and disadvantages of each option below. However, there are instances where screwing the panels is preferable. If the wall has significant unevenness that cannot be levelled, securing the panels with screws is recommended. This also applies to ceiling installations—screws provide the assurance that gravity won’t cause your installation to fail over time.
Note: For optimal sound absorption with your acoustic panels, a wooden frame with mineral wool provides an enhanced dampening effect. In this case, secure the acoustic panels with screws to the wood framework. Detailed instructions for this setup are provided further below.
Situations Where Screws Are Preferable
- Uneven or heavily soiled walls
- Heavier acoustic panels
- Ceiling installations
- Mounting on a wooden frame
Adhering Acoustic Panels: Which Adhesive Is Best?
For adhering acoustic panels, mounting adhesive is highly recommended. A cartridge gun makes application easy, and some products have integrated dosing mechanisms. Mounting adhesive is versatile for many challenging interior and exterior applications. Its thicker consistency allows it to even out small wall imperfections.
Advantages of Mounting Adhesive
- Ready to use
- Bonds well on most surfaces without pre-treatment
- Strong initial hold
- Easy to work with
- Fills small irregularities
- Compensates for material tension
- Compatible with paint and overpaintable
- Odourless
Tip: Choose a quality adhesive—avoid economising here. For walls, a dispersion-based mounting adhesive is ideal, ensuring strong initial adhesion. With 70 kg of adhesion per square metre, your panels will stay firmly in place.
IMAGE: Attaching acoustic panels with adhesive
Screwing Acoustic Panels: Which Screws Are Suitable?
We recommend using plasterboard screws with a length of 35mm, secured in the wall with 6mm wall plugs. Consider the colour of the screws. Most acoustic panels have a visible felt section between the slats where screws should be placed to avoid damaging the wood. To maintain the aesthetic of the panelled wall, it’s best to match the screw colour to the felt.
Screws vs Adhesive: A Quick Overview of Pros and Cons
Both methods for mounting acoustic panels have their pros and cons. Decide which option is better suited for your project.
Pros of Adhesive for Acoustic Panels
- Fast installation, as mounting adhesive provides high initial hold, securing the panels immediately
- Clean, screw-free appearance
Cons of Adhesive for Acoustic Panels
- May not provide enough security for ceiling installations, uneven walls, or heavy panels
- Difficult to remove in case of installation errors due to strong initial adhesion
- Later removal of adhesive and residue can be time-consuming and potentially damaging
Pros of Screws for Acoustic Panels
- Secure, durable installation for heavier and ceiling-mounted panels
- Easier to adjust by unscrewing and re-boring if a panel is misaligned
- Simple removal and relocation of the acoustic wall
Cons of Screws for Acoustic Panels
- Installing with screws is generally more labour-intensive than using adhesive
- Many drill holes may need patching after panel removal
How to Attach Acoustic Panels with Adhesive
Mounting adhesive is a popular choice for professionals and DIYers alike. This versatile adhesive sticks well to almost any surface but can struggle with dust, dirt, or major unevenness. So, as with any DIY project, preparation is key for successful installation.
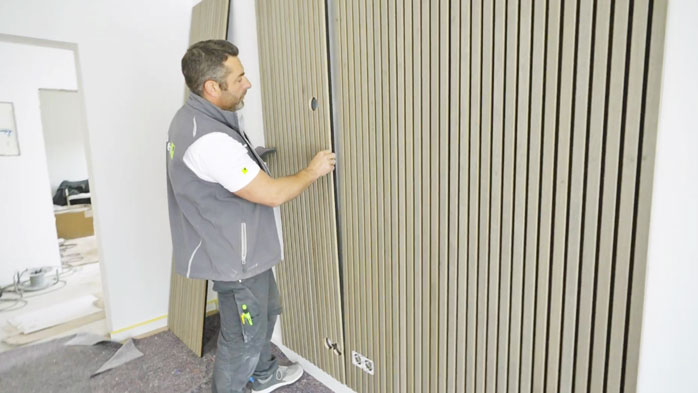
Attaching Acoustic Panels with Adhesive: Preparations
Inspect the mounting surface carefully. Remove any nails and fill in larger wall imperfections. Ensure the surface is clean, dust-free, and dry.
Tip: For quality acoustic wood panels, avoid mounting them straight from the plastic packaging. Unpack the panels and let them acclimatise at room temperature for a day.
Before starting, gather your tools and materials. Here’s a list, including saws in case you need to trim the panels or create cutouts:
- Acoustic panels
- Mounting adhesive
- Adhesive cartridge
- Tape measure
- Pencil
- Chalk (for marking on the felt side)
- Spirit level
- Set square
- Optional: rubber mallet to tap panels into place
- Table saw, jigsaw or handsaw
- Sandpaper
- Paper towels, damp cloth
Special Case: Adhering Acoustic Panels to Wallpaper
No worries: a properly applied wallpaper won’t come off due to the adhesive or weight of the acoustic panels, except for self-adhesive vinyl wallpapers, which can be easily installed and removed.
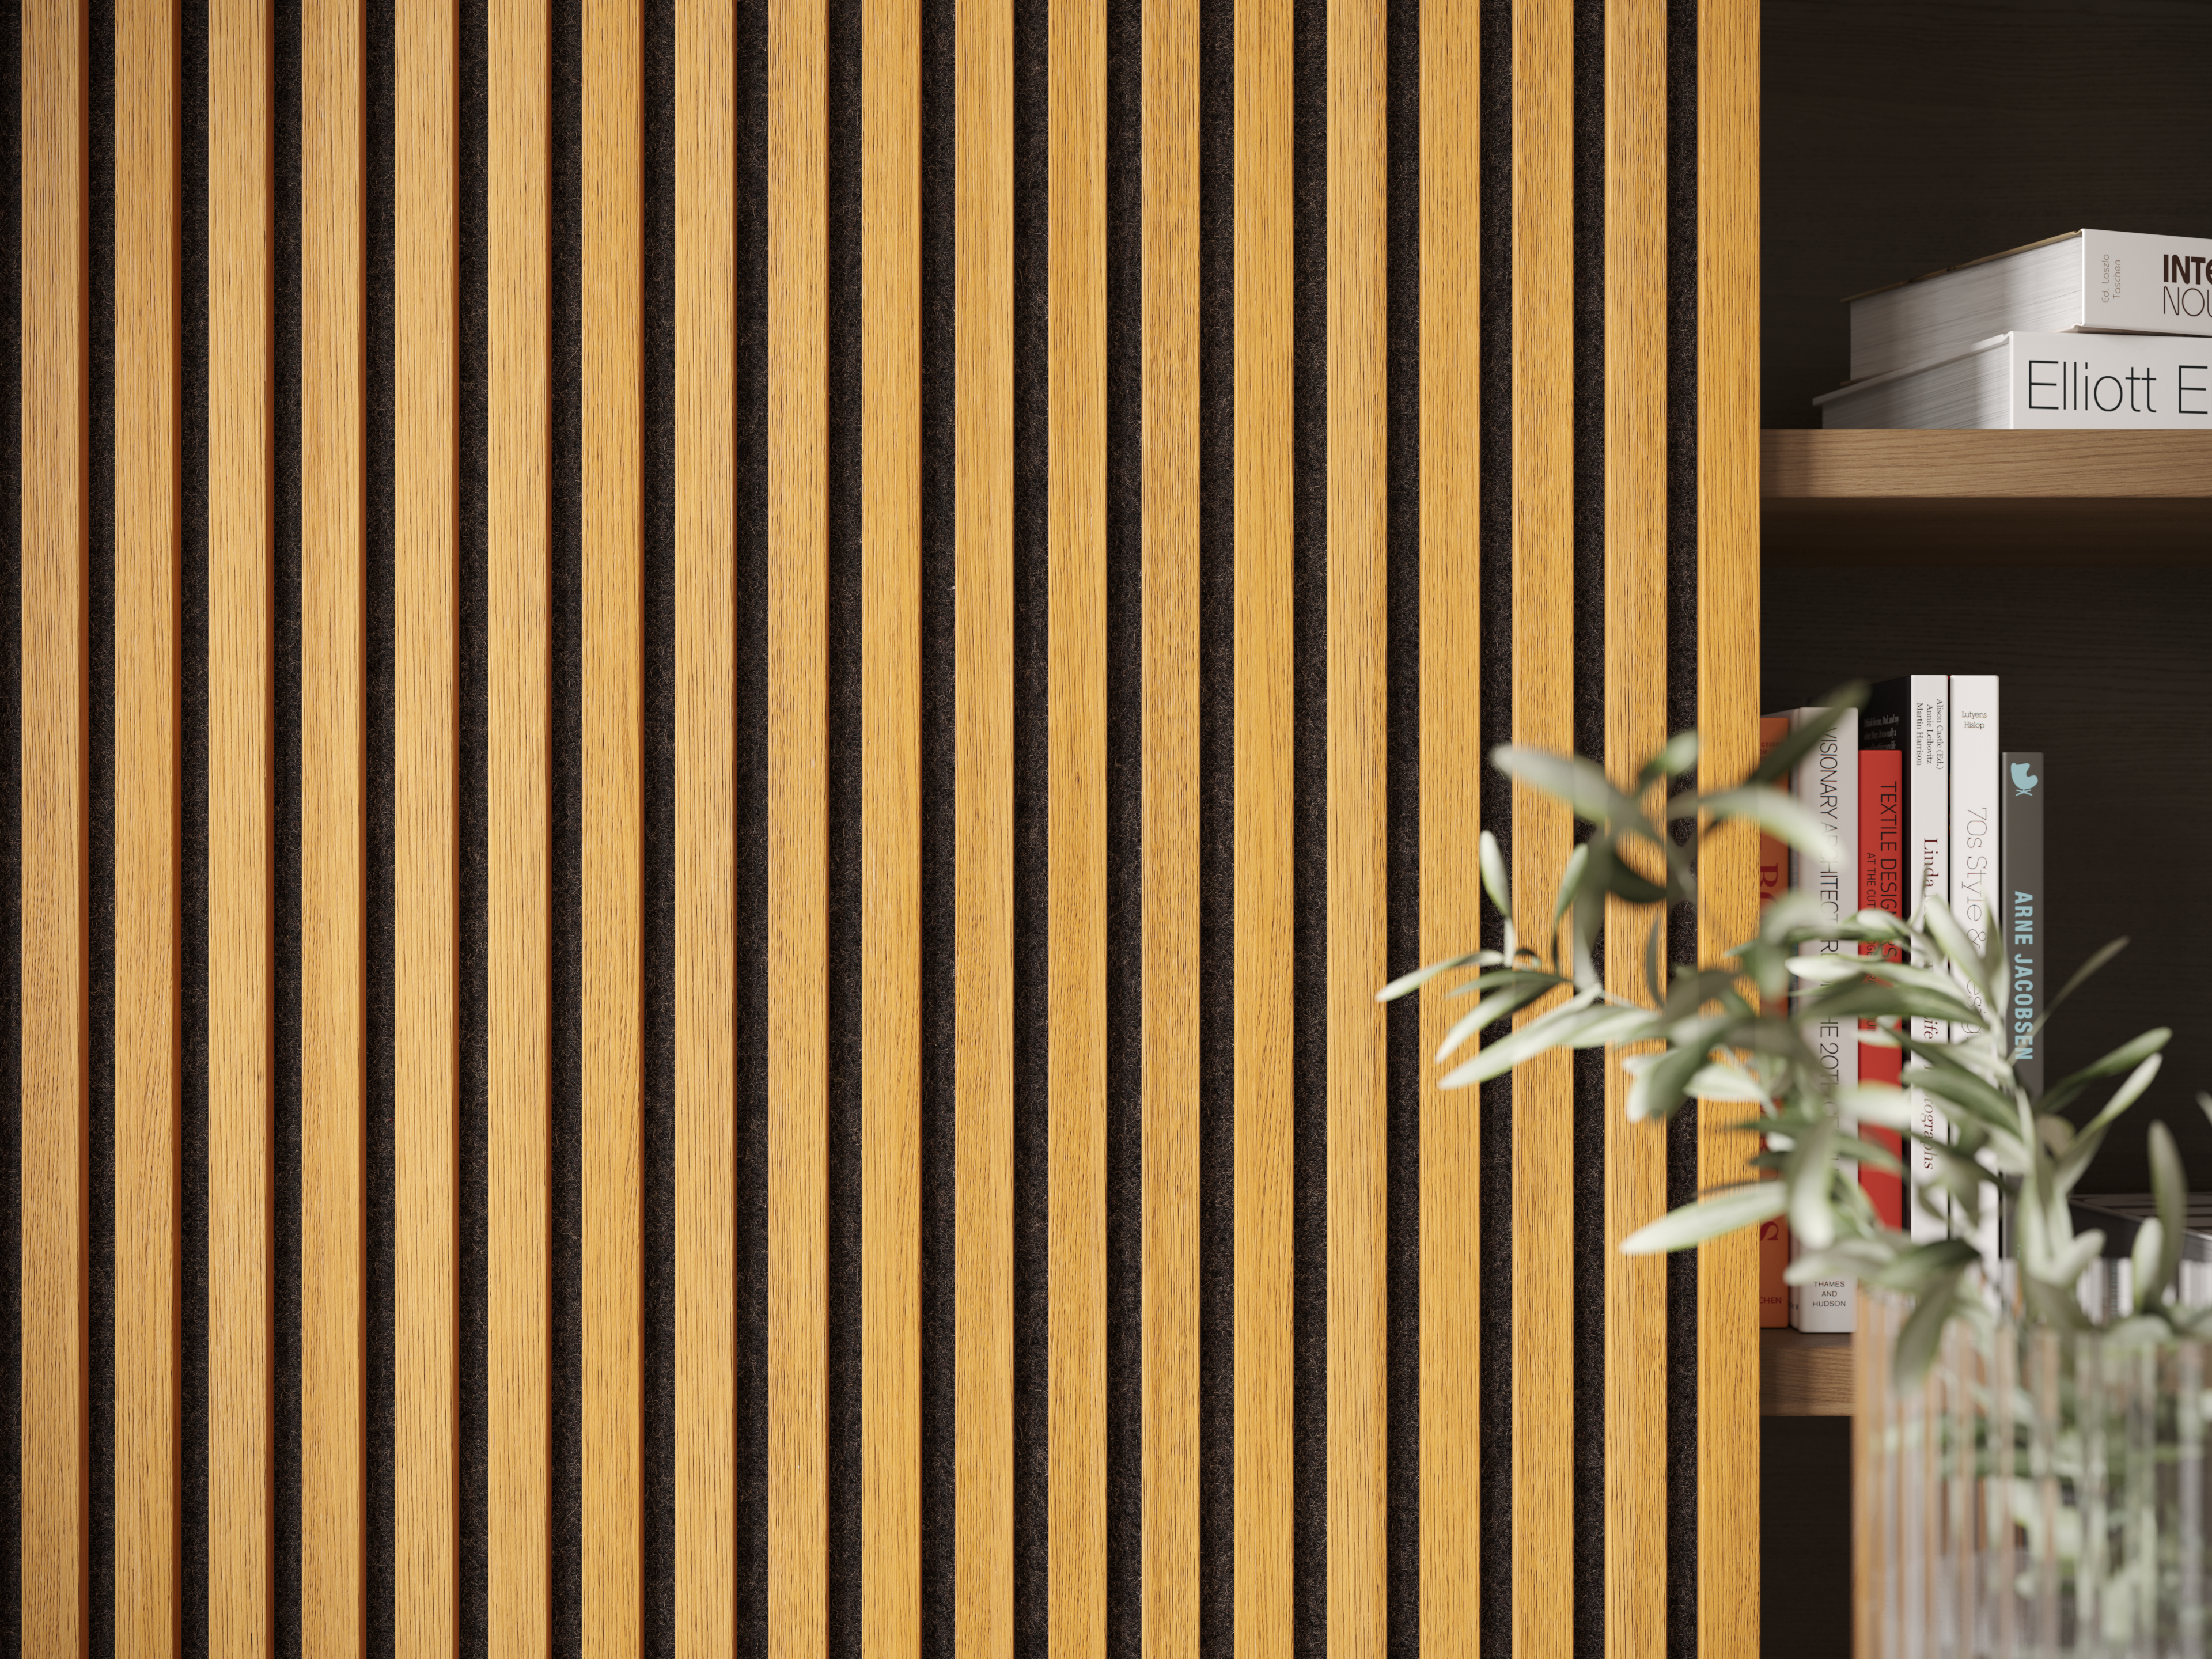 planeo acoustic panels ISO - natural oiled oak - 240 x 60 cm
54,90 € pro m²
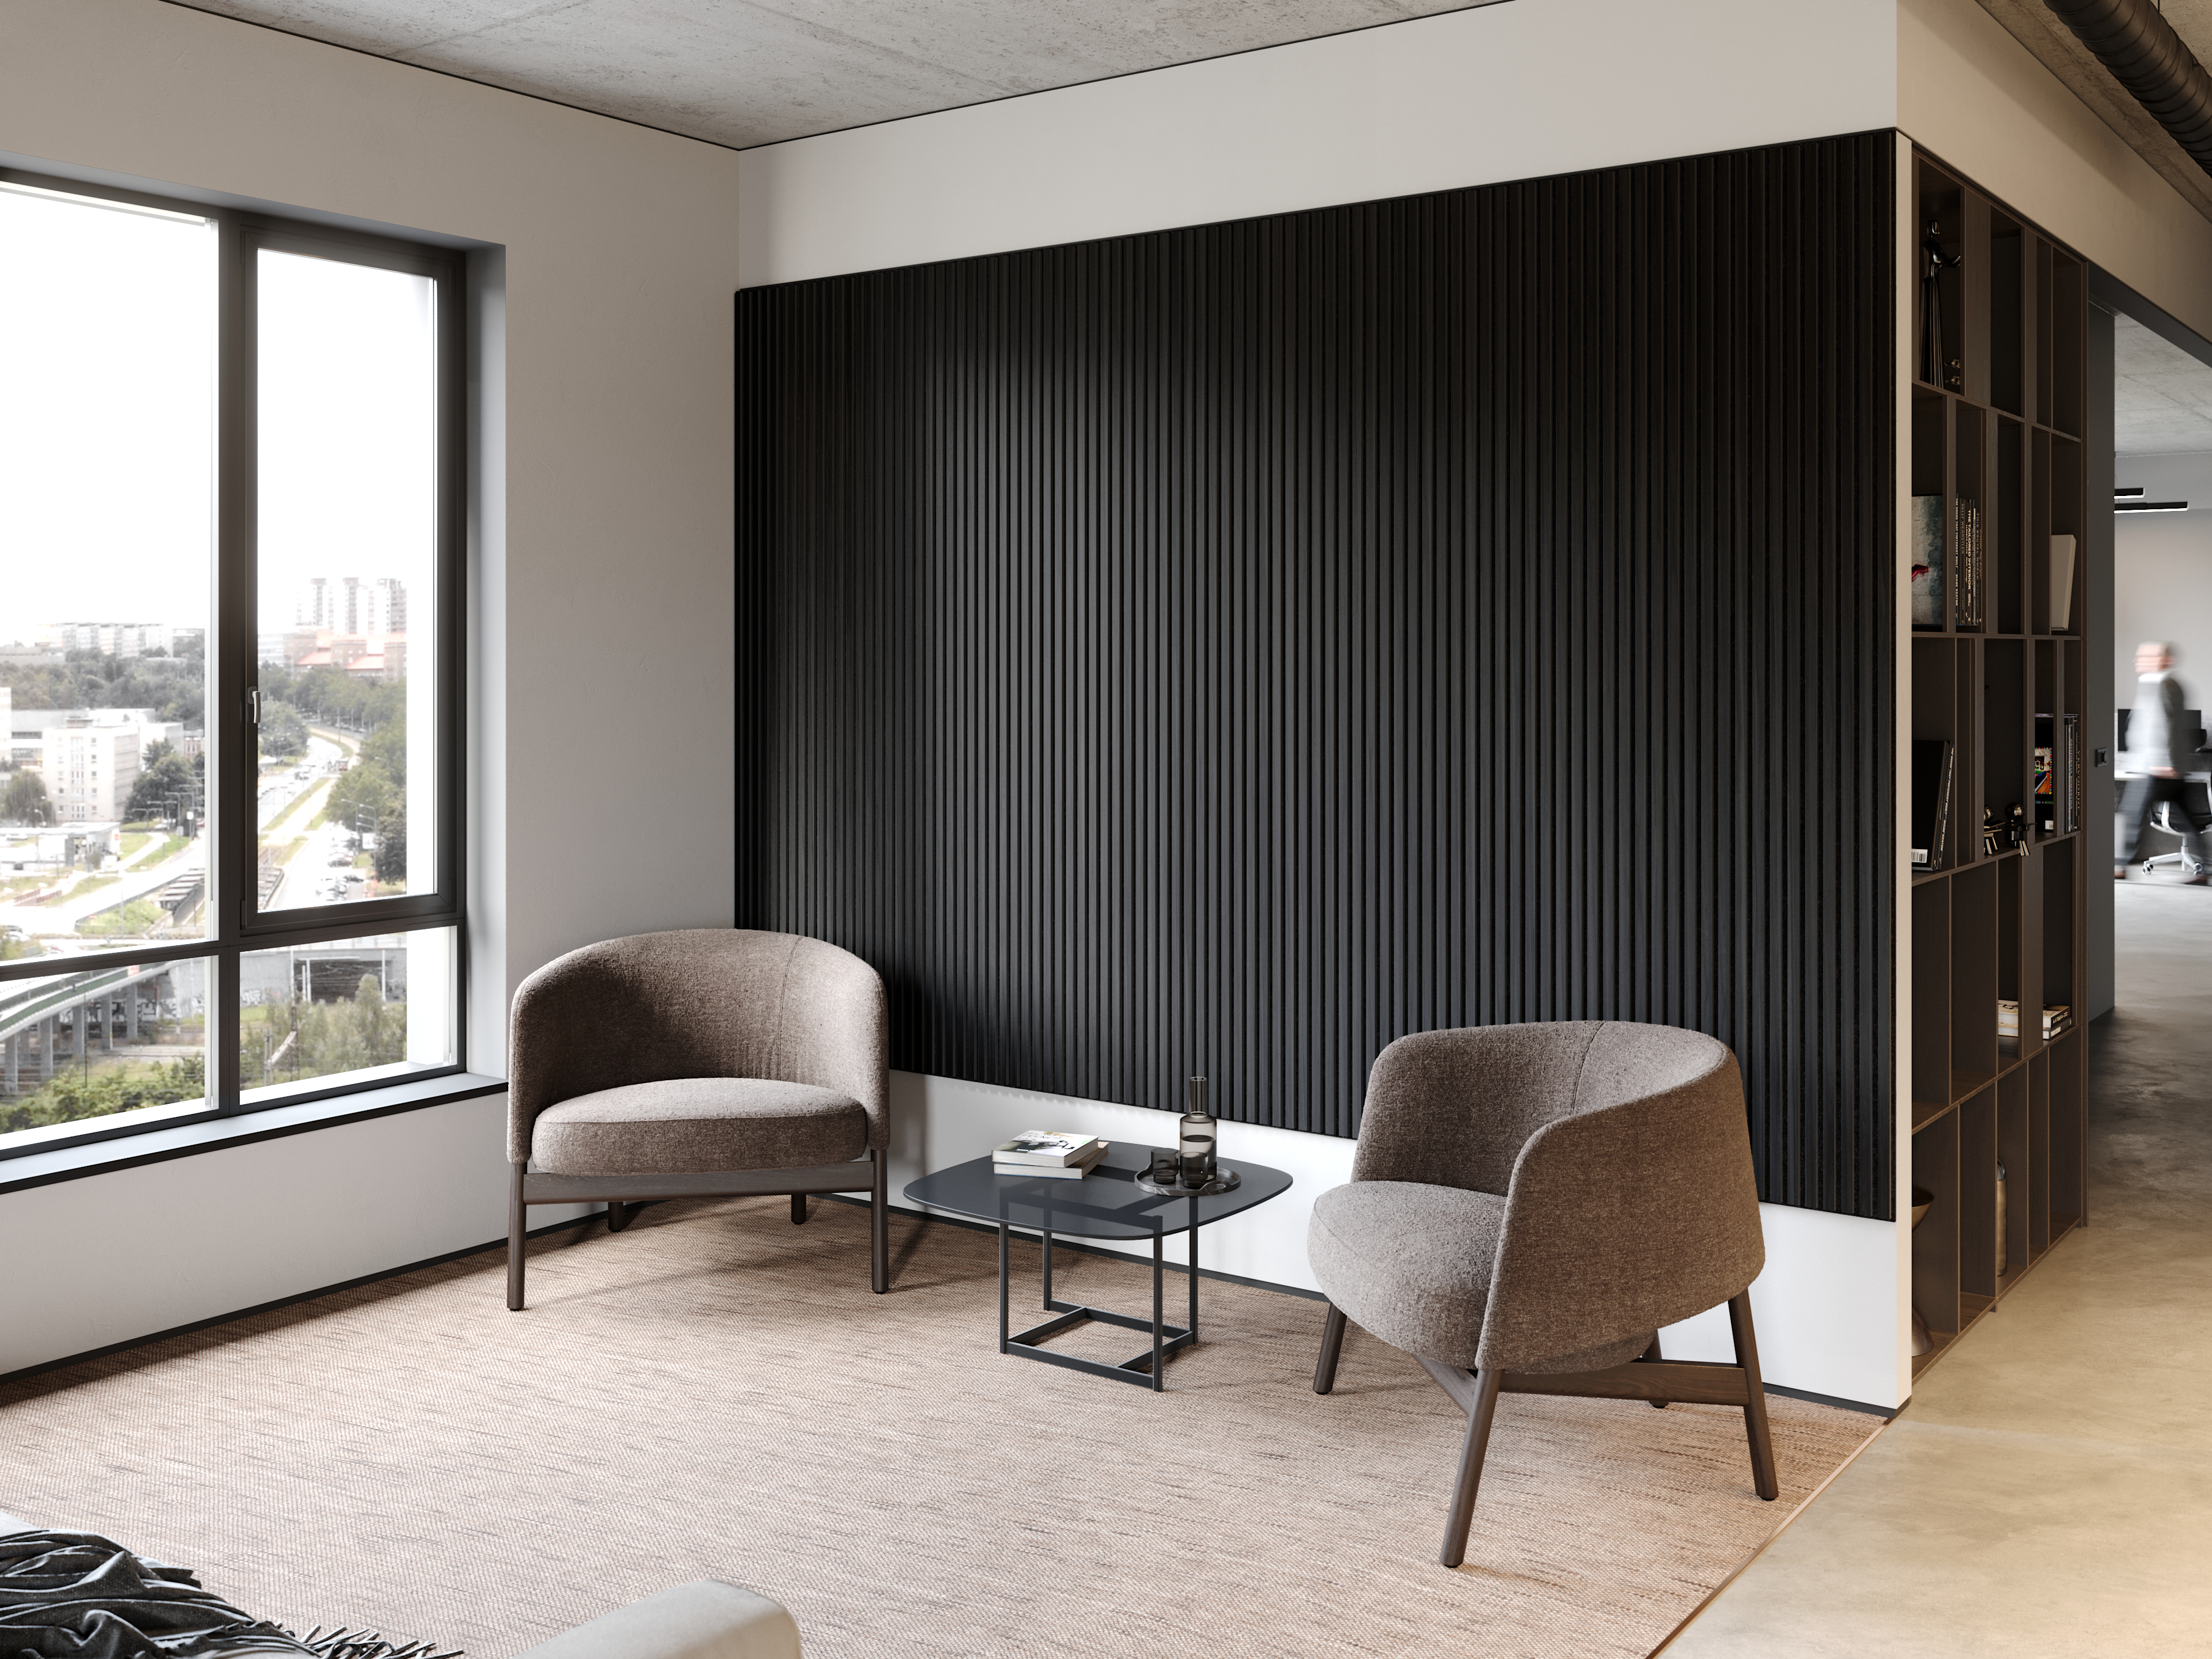 planeo acoustic panels ISO - black oak - 240 x 60 cm
54,90 € pro m²
Step-by-Step Guide for Adhering Acoustic Panels
- Clean the mounting surface thoroughly, remove any foreign objects, and fill in imperfections.
- Measure the area on the wall where you want to install the panels. If skirting boards are present, align the bottom of the acoustic wall with them. Otherwise, select matching edging beforehand and install it. Using a tape measure and set square, mark the wall's dimensions with a pencil.
- Acoustic panels can be easily cut to size. For table saws, mark the cutting line with a pencil on the panel’s front. For a handsaw, jigsaw, or fox-tail saw, mark with chalk on the felted back and cut from that side.
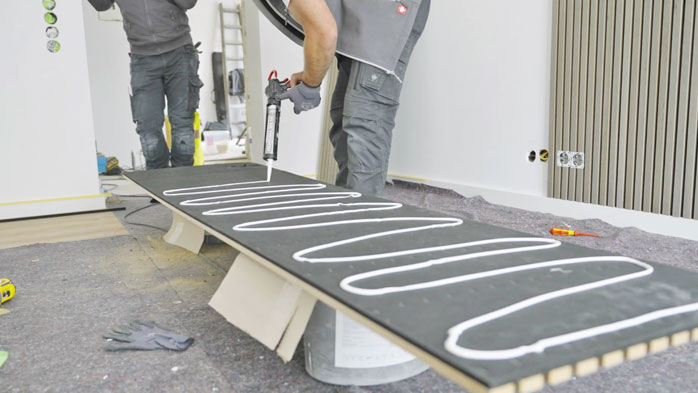
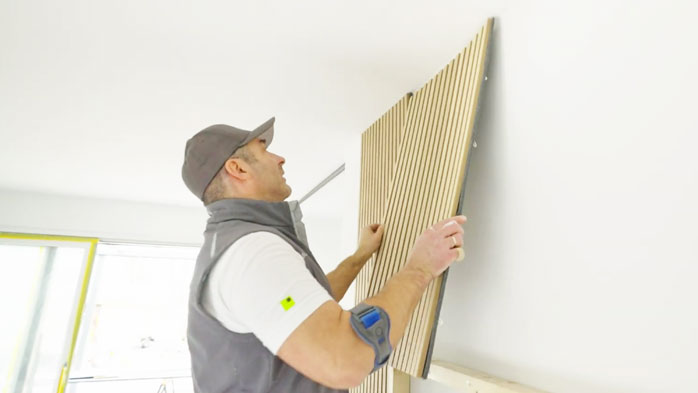
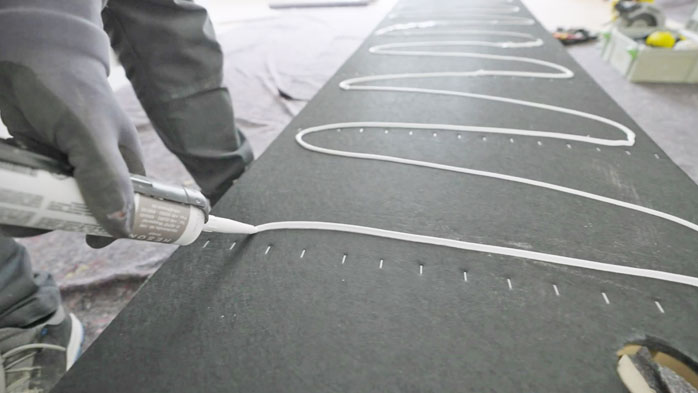
- Hold the first acoustic panel against the wall to determine its position, ensuring it’s perfectly vertical using a spirit level. Mark everything with a pencil. Apply mounting adhesive in dots or a snake-like pattern (follow manufacturer instructions) on the panel's back. Press the panel firmly into position or tap it with a rubber mallet.
- Continue installing each panel in turn, ensuring consistent felt spacing between them.
- If you don’t want a visible felt edge on the outer right side, trim it with a utility knife before adhering.
Screwing Acoustic Panels: Drilling for Security
The screwing method provides extra security, though it requires more time. Most materials match those needed for adhesive, with these additional tools:
- No mounting adhesive
- No adhesive cartridge
- No damp cloth (you’ll only need to vacuum dust)
- Add a hammer drill
- Add a cordless screwdriver
- Add 6mm wall plugs
- Add 35mm plasterboard screws, ideally matching the felt colour (approx. 13 screws for a 240cm panel)
- Add a small locksmith’s hammer
IMAGE: Securing acoustic panels to a wooden frame
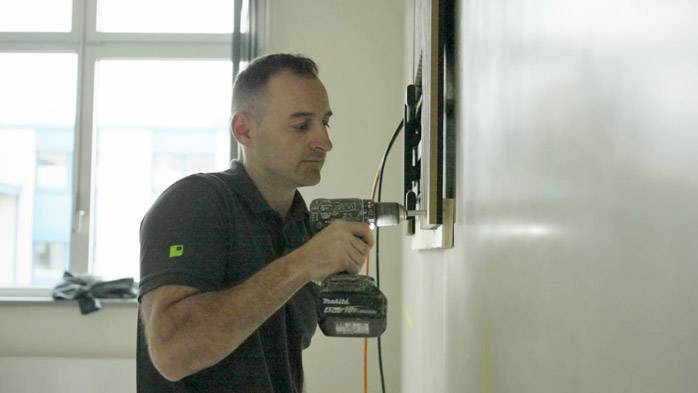
Screwing Acoustic Panels: Step-by-Step Instructions
- Prepare the mounting surface. As you’ll be securing screws, it’s sufficient to remove any foreign objects like nails or protruding wall plugs.
- The cutting, measuring, and marking steps are the same as those for adhering acoustic panels.
- Hold the first panel against the marked wall position and drill shallow holes through the felt and into the wall. It’s best to have a second person hold the panel steady. For a 240cm panel, drill about 13 holes, spaced 20cm apart. Positioning by eye is generally sufficient.
- Set the panel aside and drill the holes to the appropriate screw depth with a 6mm drill bit. Tap 6mm wall plugs into each hole. Place the panel back against the wall and secure it by screwing into the middle hole first, then tighten the remaining screws. Continue panel by panel. Tip: You can enhance your panels' sound-absorbing capability with a frame structure. Attach horizontal wooden battens 60cm apart to the wall. Then, cut mineral wool to size with a utility knife and place it between the battens. Finally, screw the acoustic panels to the frame, achieving the highest sound absorption rating for your wall.
Conclusion: Manageable Effort, Significant Impact
Acoustic panels bring tranquillity and focus to your spaces, enhancing the clarity of conversations and the sound quality of music, while adding stylish aesthetics to your walls. Installing panels, whether with adhesive or screws, is achievable for DIY enthusiasts with basic skills. Standard household tools suffice. For long-lasting installation on smooth walls, adhesive mounting is generally enough. However, if the surface is uneven or if you’d like to remove the panels without damage later, screw mounting is recommended.
Experience the best service with planeo - because you need it!
No matter what challenges you face with your project, planeo provides you with the right solution. Benefit from the advantages of our services:
- Free samples⁴ for many of our products: Order up to 7 free samples, such as our acoustic panels or other wall coverings.
- Express delivery² - for urgent projects and quick decisions.
- Expert advice¹ - We offer professional consultation through our contact page or answer your questions directly in the comments.
These topics might also interest you
Acoustic Panels as a Coat Rack: A DIY Project
DIY Wall Panelling: A Guide to Stylish Walls
How to Cut Acoustic Panels Perfectly – A Foolproof Guide
What Are Acoustic Panels – Focusing on Function and Design
Bathroom Wall Cladding Instead of Tiles – A Tile-Free Approach
Simple and Effective: DIY Acoustic Panels!
Step-by-Step Guide: Install Wall Panels