Would you like your coat rack to be not only practical but also visually appealing? In our DIY guide, we’ll show you how to easily build a functional and stylish coat rack using acoustic panel coat rack DIY. These trendy wall coverings offer not only a modern design but also improve room acoustics by dampening disruptive noises and reducing unpleasant echoes. We’ll take you step by step through the process, from selecting the right materials to mounting your new coat rack. Your DIY project is sure to be a success!
Content
Acoustic Panels as a Building Material
Acoustic panels are currently all the rage—not just for their excellent noise-dampening properties, but also for their aesthetic appeal. These decorative wall panels are ideal for a variety of DIY projects and are available at Planeo and other retailers in a wide range of designs, colours, and shapes, allowing for seamless integration into different interior styles.
Thanks to their lightweight design, acoustic panels are easy to handle and can be effortlessly mounted on walls. Possible fixing materials include mounting adhesive, adhesive strips, fixing clips, or screws. Depending on your project’s requirements, you can cut the panels to the desired size using a jigsaw and arrange them as you like. Create stunning patterns or design your own unique wall decorations using these panels. They not only look great but also serve their primary function: improving room acoustics by reducing sound levels indoors.
Whether as wall art, room dividers, or custom furniture, acoustic panels offer endless creative possibilities for your home. A particularly popular use is as a building material for coat racks, which can be easily crafted with a bit of skill.
Build a Coat Rack with Panels: Step-by-Step Instructions
Materials and Tools Needed to Build a Coat Rack with Acoustic Panels:
- Acoustic panels in your chosen colour (quantity and size as required)
- Coat hooks and/or a clothes rail
- Mounting adhesive
- Spirit level (or laser)
- Pencil, tape measure
- Screws
- Wall plugs
- Drill
- Screwdriver
- Decorative elements (optional)

Follow These Steps:
1. Carefully measure the area where the acoustic panel coat rack DIY will be mounted using a tape measure. Mark the exact positions for the wall panels with a pencil. Ensure these markings will help you place the panels accurately later.
Note: You can fix the panels using either mounting adhesive or screws. In any case, make sure the panels do not sit directly on the floor. Leave a gap of about 5-10 cm for easier vacuuming or mopping. If you plan to install skirting boards, take their height into account.
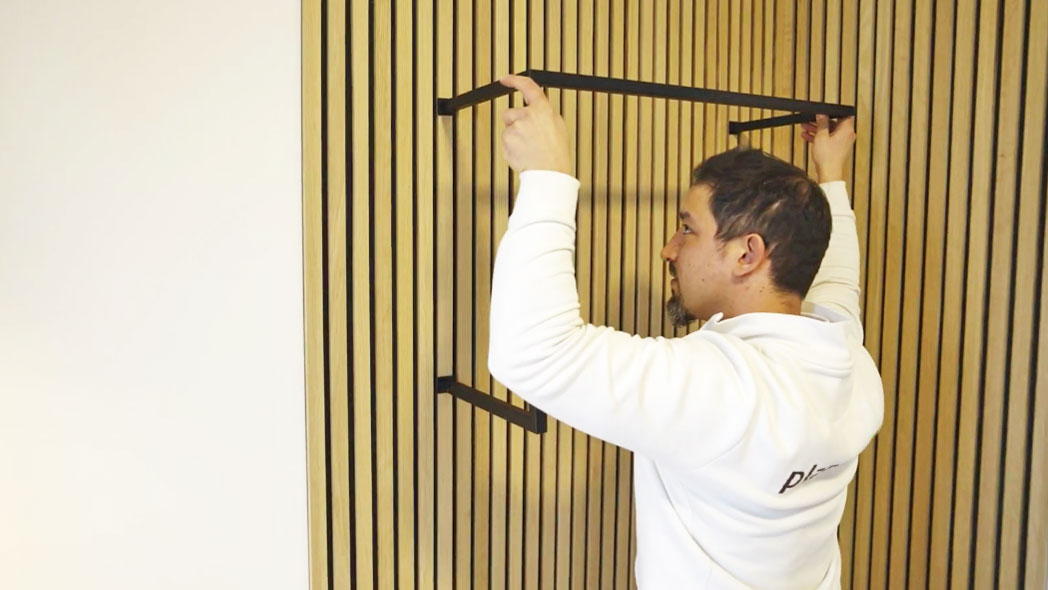
2. Decide how many coat hooks you need and at what height they should be placed. If you are adding a clothes rail, ensure there is enough clearance for long garments like coats so they don’t touch the floor. Mark the spots on the panels where the hooks or rail will be attached.
3. Generously apply mounting adhesive to the back of the panels in a zigzag pattern for an even bond. Fix the panels in the desired position on the wall. Use a laser or check the alignment with a spirit level. Once correctly positioned, press the panels firmly against the wall for several minutes.
Note: If necessary, you can reinforce the panels with additional screws or clips. Place these at the edges or the centre of the panels, ensuring they are in discreet locations to maintain the panel’s appearance.
4. Drill holes in the marked spots on the panels. Insert wall plugs into the holes, then screw in the coat hooks and clothes rail. Ensure that the hooks and rail are securely fastened and maintain their stability under the weight of hanging clothes. You can test this by hanging a few items and checking that the fittings remain firm.
Note: Always fix coat rails, hooks, and other fittings into the wall itself, not just the acoustic panels. This ensures they can bear the weight of the clothes safely.
5. Optionally, add decorative elements such as mirrors or pictures to the panels to create a more homely look. The choice of decorations is entirely up to your personal taste.
Tips & Tricks
Here are some helpful tips to assist you during the installation of your acoustic panel coat rack DIY and to overcome any potential challenges. You’ll also find ideas to further enhance your coat rack.
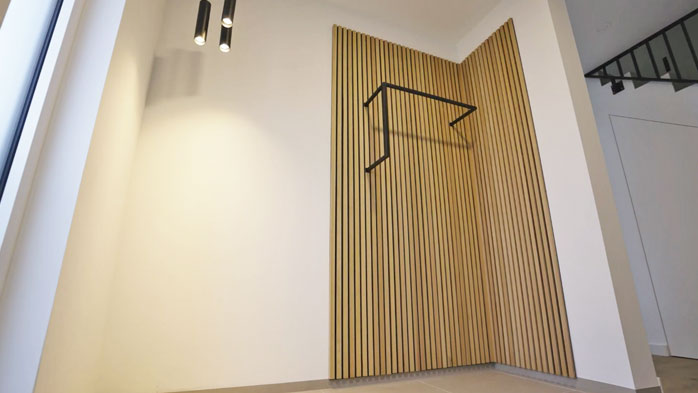
You can build the coat rack either against a wall or in a corner. The latter option provides extra storage space without taking up much room. When constructing in a corner, make sure to fit the two panels tightly together. This works best when one panel ends with the wooden section and the other with the felt backing. When pushed together, they form a seamless transition without any gaps.
If you miscalculate during installation and are using mounting adhesive, don’t worry. The adhesive takes several hours to fully cure, giving you time to adjust the panels’ position or even remove them from the wall if necessary.
If you want more storage space on your acoustic panel coat rack, you can add extra shelves or ledges. These are great for storing accessories like gloves, hats, or even shoes.
When drilling additional holes, always ensure you drill straight into the wooden slats rather than into the gaps between them. These gaps are often made of soft materials like felt and can easily tear. As an alternative to drilling, magnetic strips can be used. These can be flexibly attached to the panels and are ideal for holding keys or hooks for lightweight textiles such as scarves.
Utilise the strength of the acoustic panels to conceal cable channels behind them. This allows you to discreetly run charging cables for electronic devices or decorative lighting.Lighting Tips: Enhance the visual appeal of your coat rack by adding LED strips behind the panels for a soft backlight or spotlights on the front for focused lighting on your clothing.
Experience the best service with planeo - because you need it!
No matter what challenges you face with your project, planeo provides you with the right solution. Benefit from the advantages of our services:
- Free samples⁴ for many of our products: Order up to 7 free samples, such as our acoustic panels or other wall coverings.
- Express delivery² - for urgent projects and quick decisions.
- Expert advice¹ - We offer professional consultation through our contact page or answer your questions directly in the comments.
These topics might also interest you
DIY Wall Panelling: A Guide to Stylish Walls
How to Cut Acoustic Panels Perfectly – A Foolproof Guide
What Are Acoustic Panels – Focusing on Function and Design
Bathroom Wall Cladding Instead of Tiles – A Tile-Free Approach
Simple and Effective: DIY Acoustic Panels!
Acoustic Panels – Adhesive or Screws: Which Is Better?
Step-by-Step Guide: Install Wall Panels