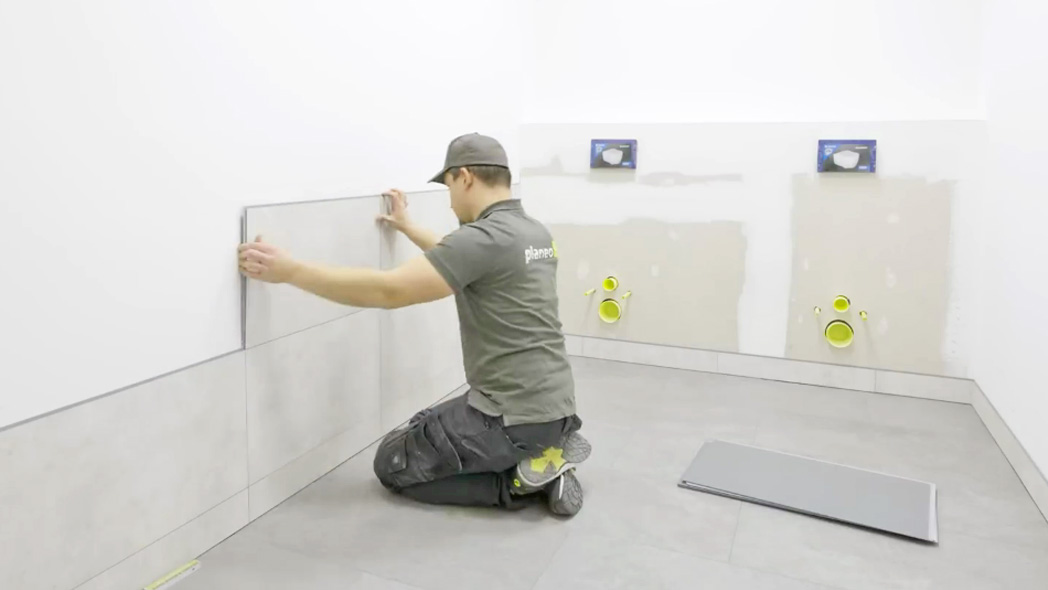
Tiles and bathrooms? – For many, this is an inseparable combination. However, new materials and installation techniques have now made other cladding options possible for bathrooms. This applies to walls as well as floors. In this article, we’ll explore alternative bathroom wall cladding. We’ll discuss suitable materials and focus specifically on installing wall panels. These panels offer an accessible alternative for DIY enthusiasts, as they are easy to cut, install, and can even be placed over existing tiles.
Content
- 1 The Benefits of Tile-Free Bathroom Wall Cladding
- 2 Alternatives for Traditional Bathroom Ceramics
- 2.1 Alternatives to Tiles: Plaster
- 2.2 Resin Coating for the Entire Bathroom
- 2.3 Exposed Concrete for a Crisp Look
- 2.4 Wallpapering in the Bathroom: Yes, It’s Possible
- 2.5 An Elegant Alternative: Natural Stone Veneers
- 2.6 Wood Wall Cladding: A Job for Professionals
- 2.7 Quick and Attractive Results with Wall Panels
- 3 Wall Panels: Their Advantages Over Tiles
- 4 StrongWall or Wallboard: planeo Sets Standards for Seamless Bathroom Design
- 5 Conclusion: Even Tile-Free Wall Cladding Requires Skilled DIY Work
- 6 Experience the best service with planeo - because you need it!
The Benefits of Tile-Free Bathroom Wall Cladding
Traditional tiled walls create a more or less coarse grid pattern, alternating between tiles and surrounding grout. These regular visual interruptions can make a room appear smaller. Conversely, using seamless or minimally grooved materials can give the space a larger feel. Therefore, tile alternatives are particularly suited for small bathrooms. Yet, they can also add a modern, open, elegant touch to larger bathroom spaces. Additionally, non-tiled walls are more hygienic; keeping wide grout lines clean is challenging, and preventing mould and dirt build-up on grout surfaces can be even more difficult. With an alternative wall cladding in your bathroom, you simply wipe the smooth surface with a soft cloth for easy cleaning.
Alternatives for Traditional Bathroom Ceramics
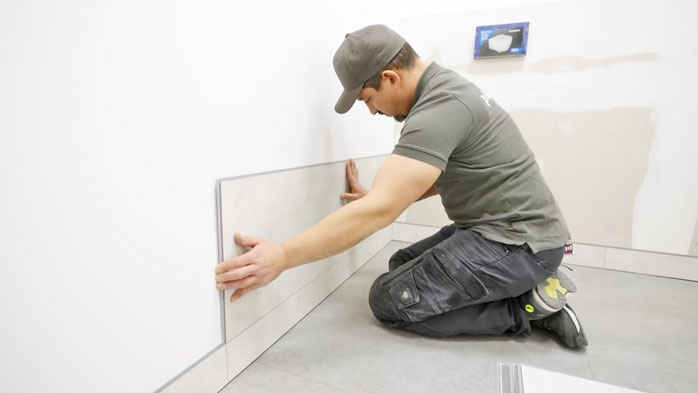
Today, there are several viable options for protecting your bathroom walls against moisture. All cladding alternatives repel moisture, though most are not suited for regular direct contact with water. Around sinks, bathtubs, and in shower areas, especially durable materials are essential. Here, wall panels have proven effective. With a wide variety of attractive finishes, wall panels make it easy to integrate them into the style of your new bathroom.
The following materials are available for a tile-free bathroom design:
- Plaster
- Resin
- Exposed concrete
- Wallpaper
- Natural stone veneers
- Wood
- Wall panels
Alternatives to Tiles: Plaster
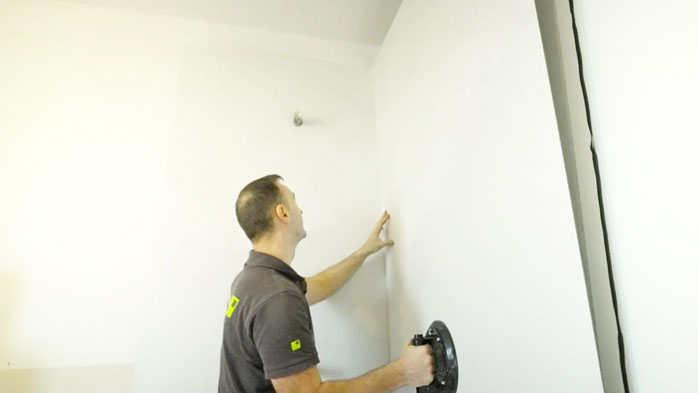
Plaster can be applied quickly with a bit of practice, although it requires meticulous preparation. All tiles or old plaster must be removed from the wall, and any holes or uneven areas should be filled with filler. Then, the entire wall should be cleaned of dirt and dust. Plaster consists of binders such as gypsum, lime, cement, and aggregates like sand or quartz sand. Suitable options for bathrooms include lime plaster, lime-cement plaster, and gypsum plaster. Clay plaster is also an option. However, these plasters should not be used directly in splash zones around the sink or bathtub, nor are they suitable for showers. A combination of plastered walls with decorative waterproof panels for splash zones could be a practical solution.
Plaster improves the indoor climate. Lime and clay plasters absorb moisture and release it back into the room when humidity decreases. Lime plaster has an alkaline consistency, which prevents the formation of mould spores.
Resin Coating for the Entire Bathroom
Resin coating, also known as resin plaster or dispersion plaster, can be applied throughout the bathroom – even around the sink, bathtub, and directly in the shower area. Resin seals walls completely against moisture and dampness. Resin-coated surfaces are seamless and easy to clean, and the coating can even be applied directly over the old, intact tile surface. However, experts advise against using resin for complete wall coverage in bathrooms, as the material prevents moisture from escaping. This lack of breathability can worsen the air quality and contribute to mould growth.
Exposed Concrete for a Crisp Look
Seamless concrete surfaces create a cool and clean look. Pigments mixed into the naturally grey concrete can add colour tones, and concrete pairs well with wood. It’s important to check the structural integrity before starting the project, as concrete surfaces are very heavy. Leave this work to a professional, as any repairs afterward are challenging or impossible. Exposed concrete can be used in wet areas but should be polished and sealed to avoid rapid staining.
Wallpapering in the Bathroom: Yes, It’s Possible
Standard woodchip or paper wallpapers are unsuitable for the humid environment of bathrooms. However, there are specialised wallpapers that tolerate higher humidity, such as glass fibre wallpaper, non-woven wallpaper, and vinyl wallpaper. Glass fibre wallpaper is the hardest to apply due to its heavy and rigid material, so make sure to use an adhesive specifically suited to it. Glass fibre wallpapers are extremely durable, while non-woven wallpapers are easy to apply and dimensionally stable, suitable for the ceiling area in bathrooms. Vinyl wallpapers are scuff-resistant and non-absorbent, but this non-absorbency can lead to quicker mould growth.
For all these types of wallpaper, it is advisable to avoid installation in direct splash zones around the sink, shower, and bathtub.
An Elegant Alternative: Natural Stone Veneers
Natural stone veneers are a stylish alternative to tiles, delivering a natural, high-quality look. Durable stone surfaces like granite, slate, and travertine are also suitable for wet areas in your bathroom. However, achieving a seamless or minimally grouted surface with this material is not possible. Be sure to seal the stones after installation to maintain their beautiful, natural texture. Note that a higher budget is necessary for a wall design with natural stone.
Wood Wall Cladding: A Job for Professionals
Wood brings a warm, cosy atmosphere to the bathroom. Durable woods, suitable for both terrace floors and bathroom applications, include teak, larch, walnut, birch, and spruce. Thermally treated wood is also suitable. Oak is less ideal due to its tendency to stain. Wood contributes to a good indoor climate in the bathroom. Make sure to wipe up any splashed water and ventilate the space well, as wood should not be used in direct moisture areas. If you are inexperienced with such work, it is best to hire a professional who can ensure 100% waterproofing.
Quick and Attractive Results with Wall Panels
Wall panels are the easiest of these bathroom design options to work with. They are suitable for use in shower, sink, and bathtub areas. Installing them is straightforward for motivated DIYers, though if you lack experience with waterproofing, measuring, or mounting, it may be best to entrust the installation to a professional. In the following section, we’ll explore the benefits of wall panels in more detail, along with installation tips.
Wall Panels: Their Advantages Over Tiles
Installing tiles requires patience – similar to piecing together a large puzzle, often needing cuts at various points. It takes time and creates considerable dust. Then there are drying times for tile adhesive and grout. And if old tiles need to be removed first, plan for one to two weeks without bathroom use.
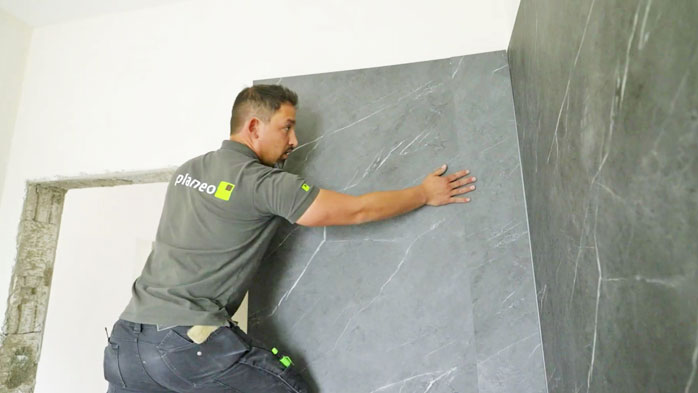
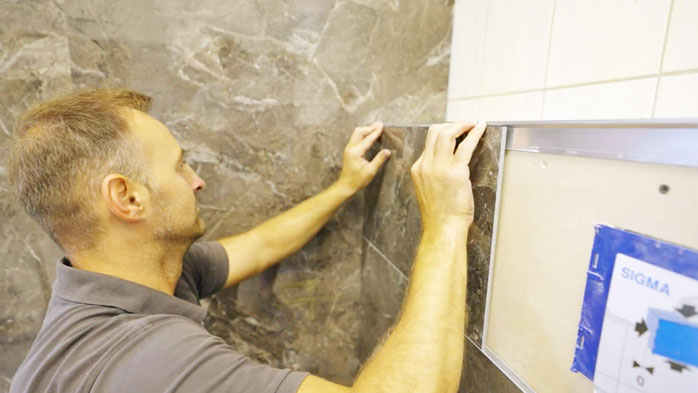
Wall panels let you work faster. Simply adhere the large material panels directly to the wall or over old tiles using mounting adhesive. Cutting them is easy and mess-free. Tongue-and-groove connections allow for a watertight join, eliminating grout lines entirely. For larger wall panel sheets that require grouting, the joint width is only a few millimetres, which is visually discreet and gives the impression of a continuous surface.
The seamless look of wall panels gives your bathroom a sense of spaciousness and highlights a modern wellness atmosphere. With a wide range of attractive panel designs, every style of bathroom décor can be effortlessly achieved.
In the past, tile walls were considered the ultimate solution for hygiene in wet rooms. However, this perception has changed. While tiles are moisture-resistant and easy to clean, the grout between them is not. Wall panels create a smooth surface that is easy to keep spotless. A key advantage in bathrooms: panels made from layered materials or plastic are entirely waterproof.
Wall Panel Benefits at a Glance
- Easy to install
- Minimal or unnoticeable seams
- Stable, warp-free material
- Water-resistant, fire-retardant
- High scratch resistance
- Easy to clean
- Resistant to mould
- Beautiful designs for any bathroom style
StrongWall or Wallboard: planeo Sets Standards for Seamless Bathroom Design
Only the best materials belong in bathrooms. Any material used in the bathroom must meet three requirements: it must be waterproof, easy to maintain, and aesthetically pleasing. Our wall panel products combine these qualities. With our planeo StrongWall, we provide a robust plastic wall tile that eliminates the time-consuming processes of tile cutting and grouting. Its innovative tongue-and-groove system allows for easy, waterproof assembly. For an even faster installation, try our planeo Wallboard. This extremely dimensionally stable aluminium composite panel measures 260 x 122 cm and, like our StrongWall tiles, can be cleanly and securely fixed to the wall with mounting adhesive.
Installation Tips for planeo StrongWall Wall Tiles
StrongWall features an exceptionally rigid and durable base panel made from patented rigid composite board. This material is highly impact- and scratch-resistant, ensuring a strong bond between the base panel and the design foil. StrongWall can be glued, nailed, or stapled in place, though in the bathroom's splash zone, only adhesive installation is recommended. For best results, use planeo's recommended mounting adhesive to ensure the panels remain securely attached.
Let the StrongWall plastic tiles acclimatise for 48 hours at room temperature before installation. Clean the surface where they will be adhered to remove dust and contaminants. The tiles can be cut to size using a handsaw, jigsaw, portable circular saw, or table saw. Take time with measurements and marking on both the wall and tiles, using a long spirit level or laser level for accuracy. A contour gauge is helpful for transferring outlines of pipes and other obstructions onto StrongWall. Adhere the first row of StrongWall with a gap from the floor; spacers ensure the correct distance. Apply adhesive in a serpentine pattern onto the panels, pressing firmly by hand. Minor adjustments can be made if the panel doesn’t sit perfectly.
StrongWall is only waterproof if adhesive is applied to the back of each joint; the tongue-and-groove connection alone isn’t waterproof. Once installed, seal joints with silicone to ensure full waterproofing.
Installation Tips for planeo Wallboard
The large planeo Wallboard can be adhered just as easily as StrongWall tiles. Due to its size, a spacious work area and a circular saw with guide rail are recommended for cutting. After the adhesive dries, fill gaps between panels and cuts with grout.
Practical tip: Remove the protective film only after installing the Wallboards. Mark cut-outs on the front of the panels to avoid errors. Apply adhesive to the wall rather than the Wallboard, and, with an assistant, press the large panel firmly into place.
Conclusion: Even Tile-Free Wall Cladding Requires Skilled DIY Work
Whether using plaster, concrete, natural stone, or wall panels, bathroom installations must be done perfectly to withstand humidity and direct water contact. Proper sealing is essential, and any wet zones must be sealed before work begins. Since 2017, the DIN 18534 standard outlines all necessary sealing steps for showers and bathtubs. At planeo, we provide instructional videos for this essential preparation and for installing our planeo StrongWall, planeo Wallboard, and all other materials. If you have DIY experience with major home projects, our videos should help you manage this task. Otherwise, if handling saws, levels, silicone, etc., feels daunting, a professional installer might be the better choice. The ease of handling and short drying time of materials like planeo StrongWall can positively affect labour costs for installers.
Experience the best service with planeo - because you need it!
No matter what challenges you face with your project, planeo provides you with the right solution. Benefit from the advantages of our services:
- Free samples⁴ for many of our products: Order up to 7 free samples, such as our acoustic panels or other wall coverings.
- Express delivery² - for urgent projects and quick decisions.
- Expert advice¹ - We offer professional consultation through our contact page or answer your questions directly in the comments.
These topics might also interest you
Acoustic Panels as a Coat Rack: A DIY Project
DIY Wall Panelling: A Guide to Stylish Walls
How to Cut Acoustic Panels Perfectly – A Foolproof Guide
What Are Acoustic Panels – Focusing on Function and Design
Simple and Effective: DIY Acoustic Panels!
Acoustic Panels – Adhesive or Screws: Which Is Better?
Step-by-Step Guide: Install Wall Panels