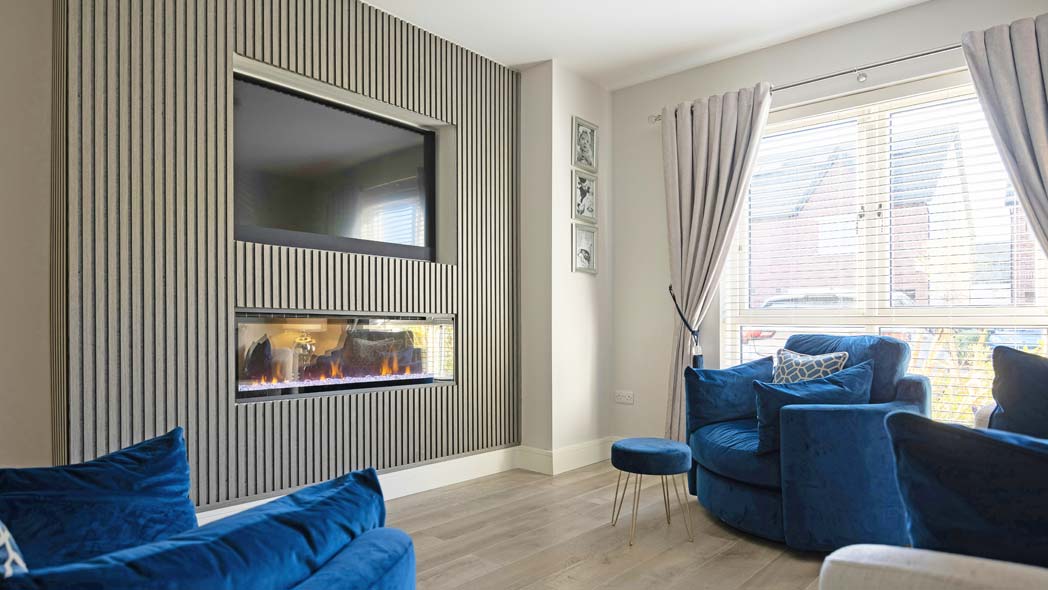
Photo: tilemerchant / unsplash.com
Would you like to enhance the empty wall behind your TV and improve the room’s acoustics at the same time? A DIY TV wall with acoustic panels could be the ideal solution. This easy-to-do project will uplift your living room's appearance while reducing unwanted sound reflections, providing an audibly better sound experience when watching TV. In our guide below, we’ll take you through each step, from planning and materials to installation, showing how you can build your own TV wall with Planeo acoustic panels.
Content
- 1 Why Build Your Own TV Wall?
- 2 Choosing the Right Material for Your TV Wall
- 3 On-Trend: Acoustic Panels Behind the TV
- 4 Step-by-Step Guide: Building Your Own TV Wall with Acoustic Panels
- 5 Illuminating Acoustic Panels Behind the TV
- 6 Additional Tips & Tricks
- 7 Conclusion
- 8 Experience the best service with planeo - because you need it!
Why Build Your Own TV Wall?
A DIY TV wall has become one of the most popular projects, not only among skilled DIY enthusiasts but also for beginners who appreciate its numerous benefits and relative ease.
One key advantage of DIY projects is that they allow you to achieve your unique design preferences. You can select the materials, colours, and design to ensure the TV wall matches your taste and home style perfectly. Additionally, it’s highly functional, allowing you to discreetly hide sockets, cables, and devices, helping you say goodbye to clutter.
Choosing custom-made options from carpenters or interior designers can be costly. However, by selecting the materials yourself and taking on the hands-on work, you can save on costs and stay within budget. This way, you create a unique feature that you can design freely and enjoy for a comparatively low price.
Choosing the Right Material for Your TV Wall
A variety of materials can be used to build a DIY TV wall, each offering different functionality, style, and price points. The list below provides a brief overview of the most common materials for a TV wall:
- MDF boards feature a smooth surface that is easy to work with, paint, or varnish. They are affordable, can be cut into various shapes, and are ideal for modern, minimalist designs. Conversely, budget-friendly OSB boards offer a rougher texture. OSB boards are also easy to work with and durable, making them suitable for an industrial or contemporary look.
- Concrete-effect panels offer durability and robustness (alongside a higher price point). If you prefer a glossy or reflective appearance, glass or mirrors can also be incorporated into the TV wall design, expanding the room visually, which makes them ideal for small spaces or minimalist interiors.
- For a cosy touch, wallpapers or fabric panels behind the TV add warmth and are available in numerous colours and patterns—perfect for those who love creative, unique designs. Wood materials also bring a natural, warm ambiance, regardless of the type. Plywood or veneer closely resembles real wood but is much more budget-friendly, making it an excellent option for those desiring a natural wood look on a limited budget.
- Wood panelling comes in various styles, each offering distinct aesthetics. Depending on the wood type, panels can create either a rustic or modern look, allowing combination with shelves or other décor items. Wood panelling adds a natural touch and a cosy atmosphere to any room. A special option is acoustic panelling, which has gained popularity in recent years.
On-Trend: Acoustic Panels Behind the TV
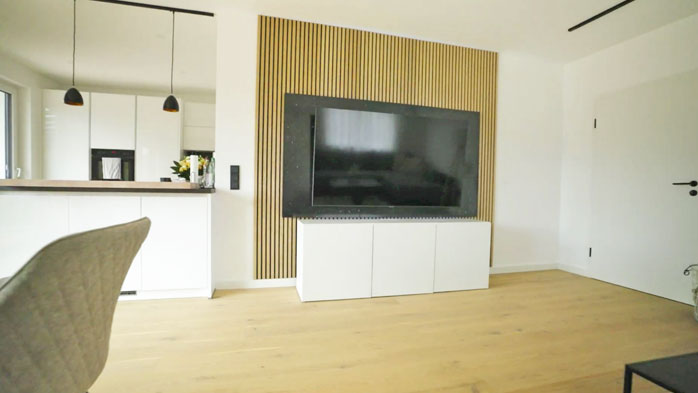
A perfect TV wall combines functionality with aesthetics. It hides unsightly outlets and cables, looks impressive, and enhances the room's overall appearance. Acoustic panels are ideal for this, with a clean structure that draws the eye without appearing overly busy. Instead, acoustic panels add a warm, cosy feel to the room both visually and acoustically. As the name suggests, these panels improve room acoustics by absorbing sound and preventing echoes, which can be especially disruptive in larger rooms. In smaller spaces, the sound-absorbing properties enhance the listening experience for TV or speakers. Simply install the panels behind the TV wall and place speakers in front, transforming your living room into a small home cinema.
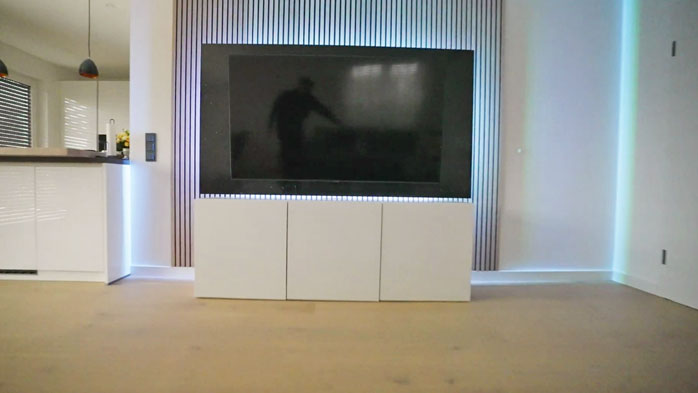
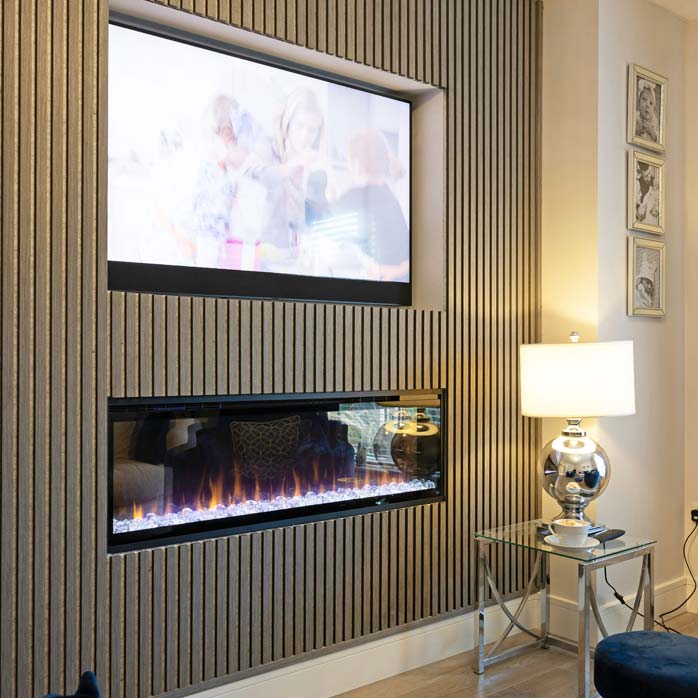
Alternatively, if you wish to prioritise the panels' appearance, consider framing the TV with them. Cut the panels to create an inset for the TV. Tip: This option works well with TVs equipped with LED backlighting. The cut-out allows the light to shine freely onto the wall.
IMAGE: Acoustic Panels with Lighting
Step-by-Step Guide: Building Your Own TV Wall with Acoustic Panels
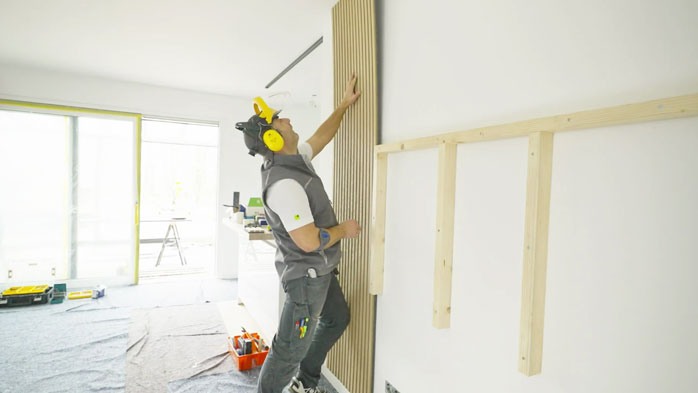
With this step-by-step guide, you can create a DIY TV wall with acoustic panels to make your living room both visually and acoustically cosier.
Materials Needed
- Acoustic panels in the preferred size and colour
- Mounting adhesive
- Black screws
- TV wall bracket
- Optional: Decorative items such as shelves or lighting
Tools Required
- Pencil
- Spirit level (or laser)
- Power drill
- Jigsaw (if needed)
Instructions from Measurement to Finished TV Wall
- Measure the Area
Start by measuring the area where you plan to install the TV wall, which will determine the size of the acoustic panels. Be sure to leave room for outlets and cables. If you'd like a recessed area for the TV, use the jigsaw to cut it out. The TV should ideally be centred at eye level for comfortable viewing. Tip: A frame width of 5-10 cm around the screen usually works well, with the recess taking up about 40-60% of the wall's total width. - Mark Panel Points on the Wall
Mark the corners of the panels on the wall to help with placement. Use a spirit level or laser tool to draw straight lines. - Apply Adhesive Generously
On the back of the panels, apply mounting adhesive generously in a zigzag pattern to ensure strong, even adherence. This adhesive works well for securing the panels, as it’s easy to use and provides a reliable hold. - Position the Panels Carefully
Align the panels with the laser or spirit level lines on the wall. Make any final adjustments within the first 10 minutes before the adhesive dries. - Secure Panels with Screws if Needed
For additional support, use screws between the wood slats, avoiding the acoustic felt. Screws aren’t the primary fasteners here but serve to reinforce the adhesive. - Install the TV Wall Bracket
Now, install the TV bracket directly into the wall for maximum stability, rather than solely on the panels. Depending on your chosen design (recessed TV or flush), follow the mounting instructions from the bracket’s manufacturer to ensure safe installation.
Optional: Decorate and light up your TV wall as desired.
Note: No substructure is needed for acoustic panel installation, except if you aim to further enhance sound insulation. In that case, consider mounting the panels on horizontal battens for additional soundproofing.
Illuminating Acoustic Panels Behind the TV
When lighting up a TV wall made with acoustic panels, several options are available. Black pendant lights are popular as their colour and vertical shape complement the TV wall’s aesthetic perfectly. These are typically installed on the sides, casting a gentle, indirect light across the wall. Tip: Many models come with adjustable height, allowing you to modify the lighting according to your preference.
Alternatively, you can place small table lamps on individual shelves attached to the panels. These are easy to swap out or replace should your taste or needs change over time.
If you prefer a minimalist design without additional hanging or standing lights but still want a light source, integrated lighting is ideal. It provides even illumination without casting shadows, creating a welcoming atmosphere. The simplest option is LED strips, which can be placed as desired and repositioned if needed.
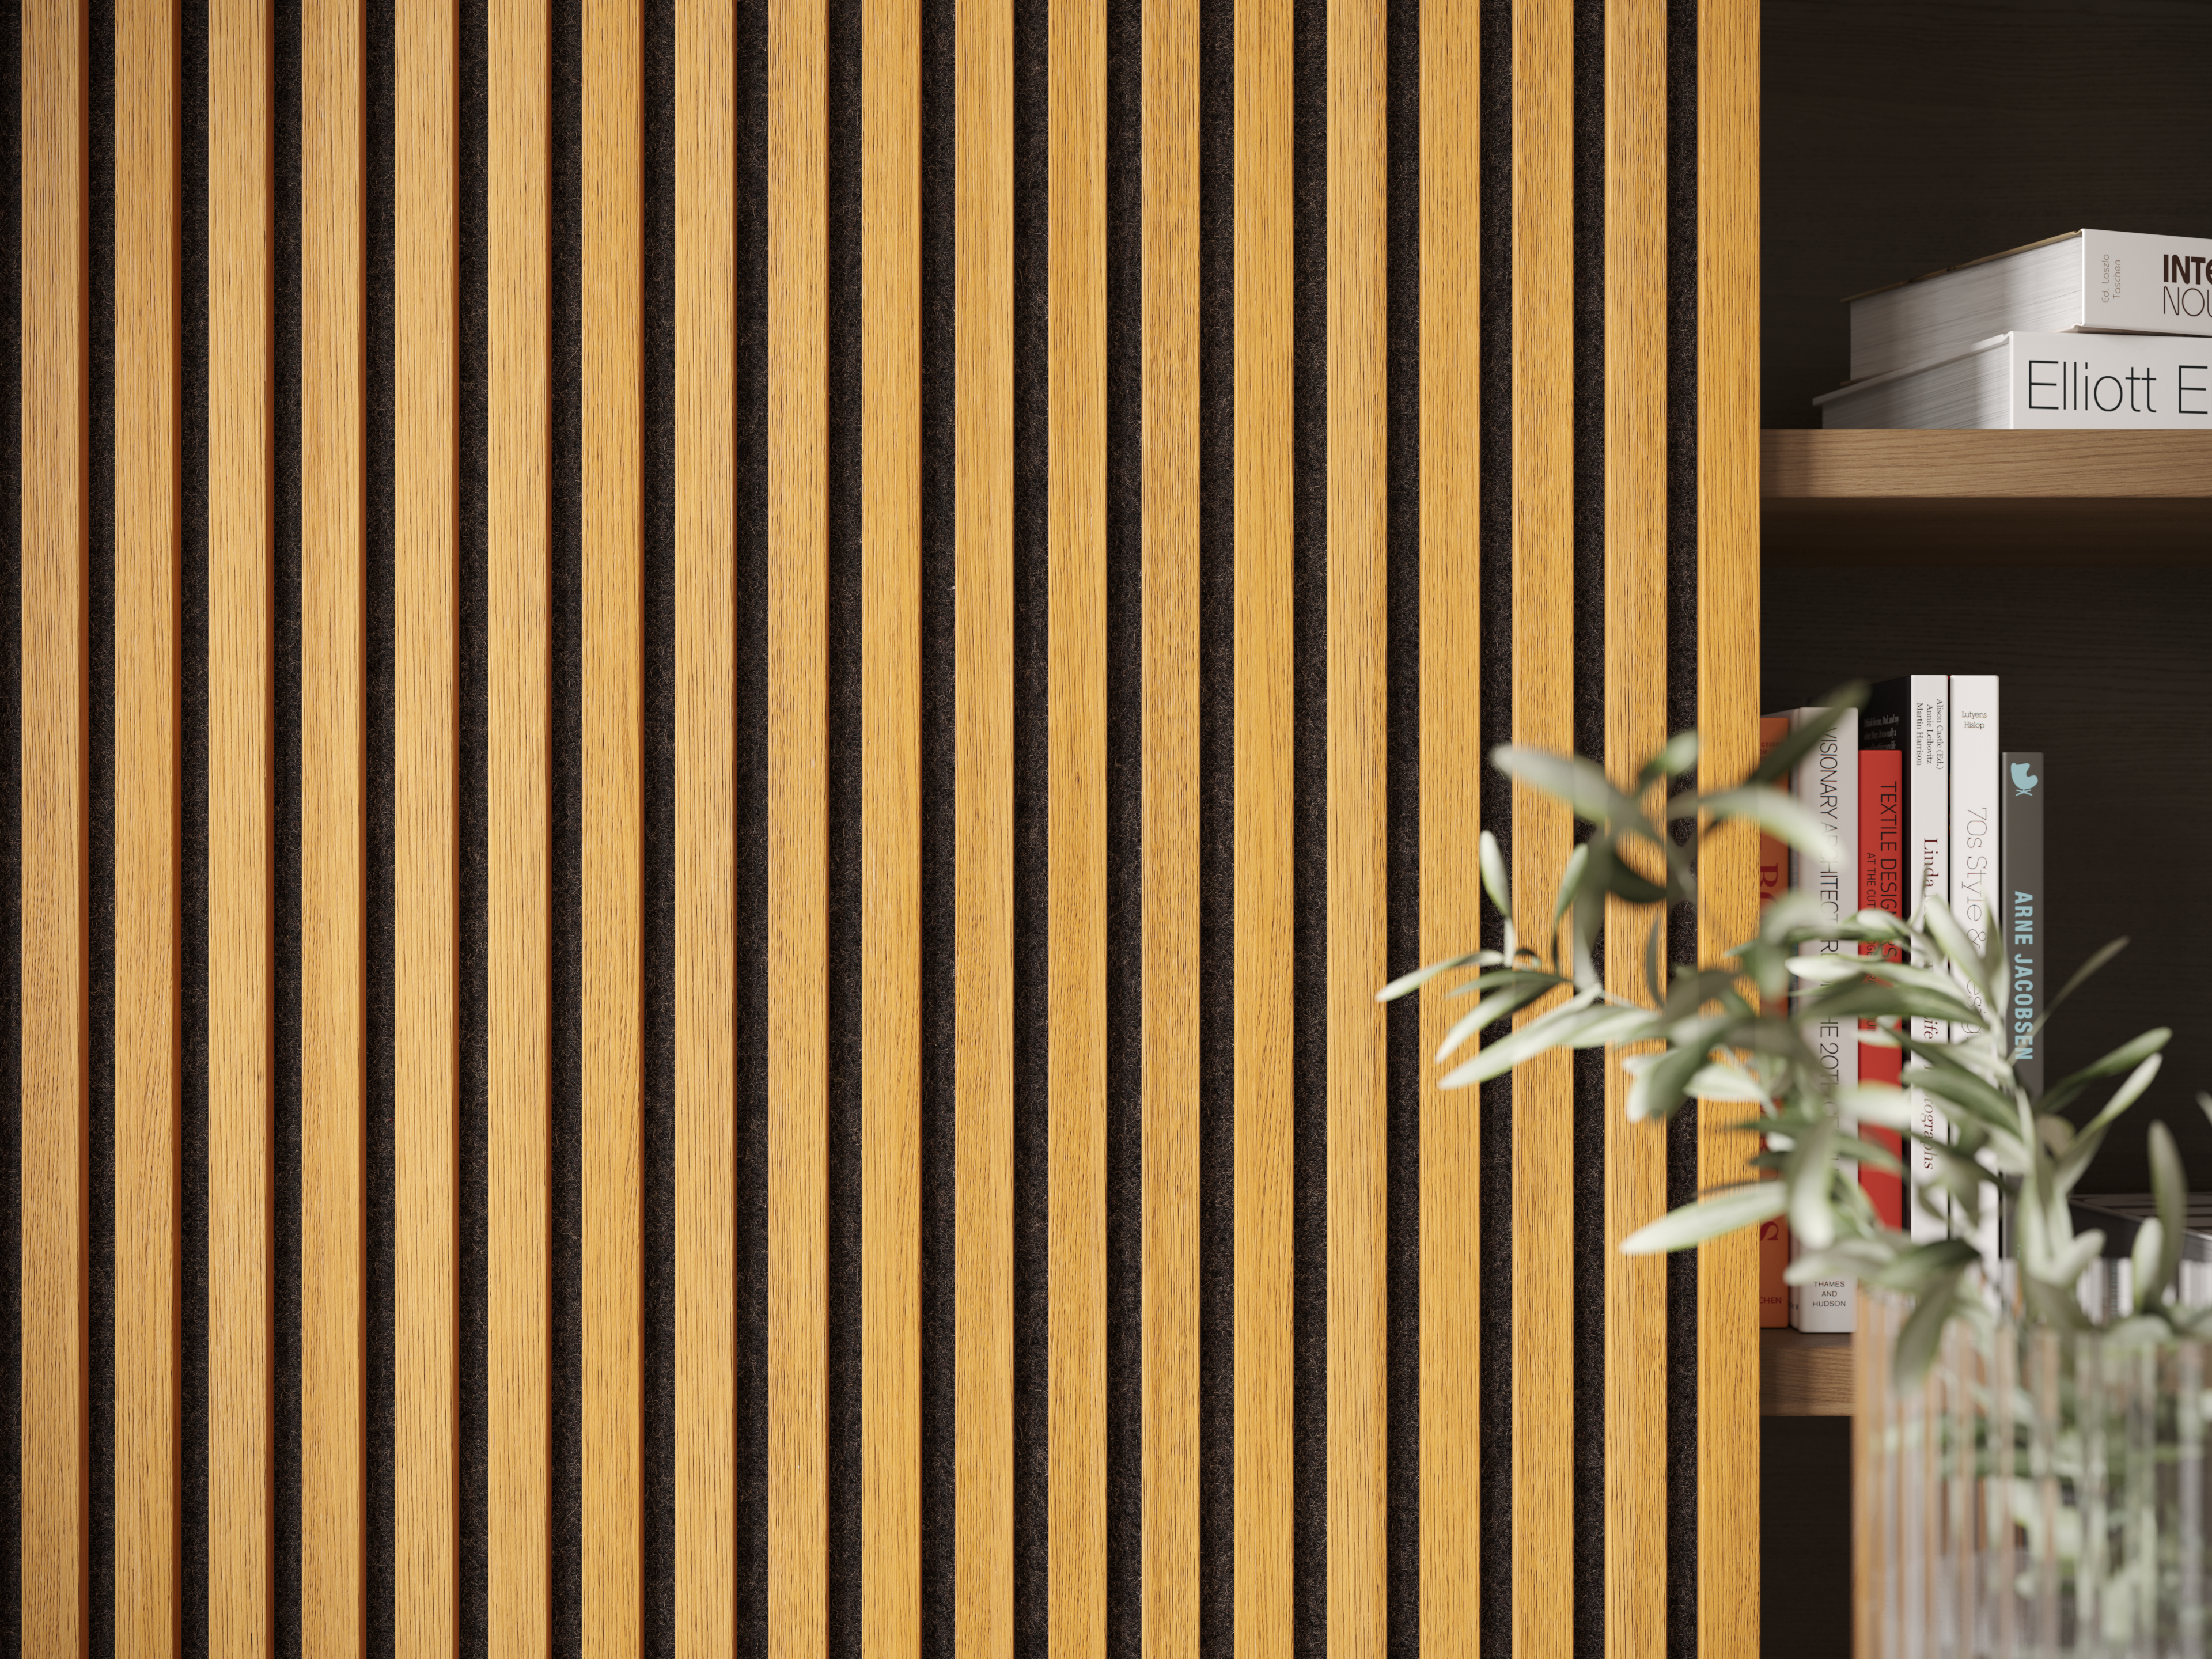 planeo acoustic panels ISO - natural oiled oak - 240 x 60 cm
54,90 € pro m²
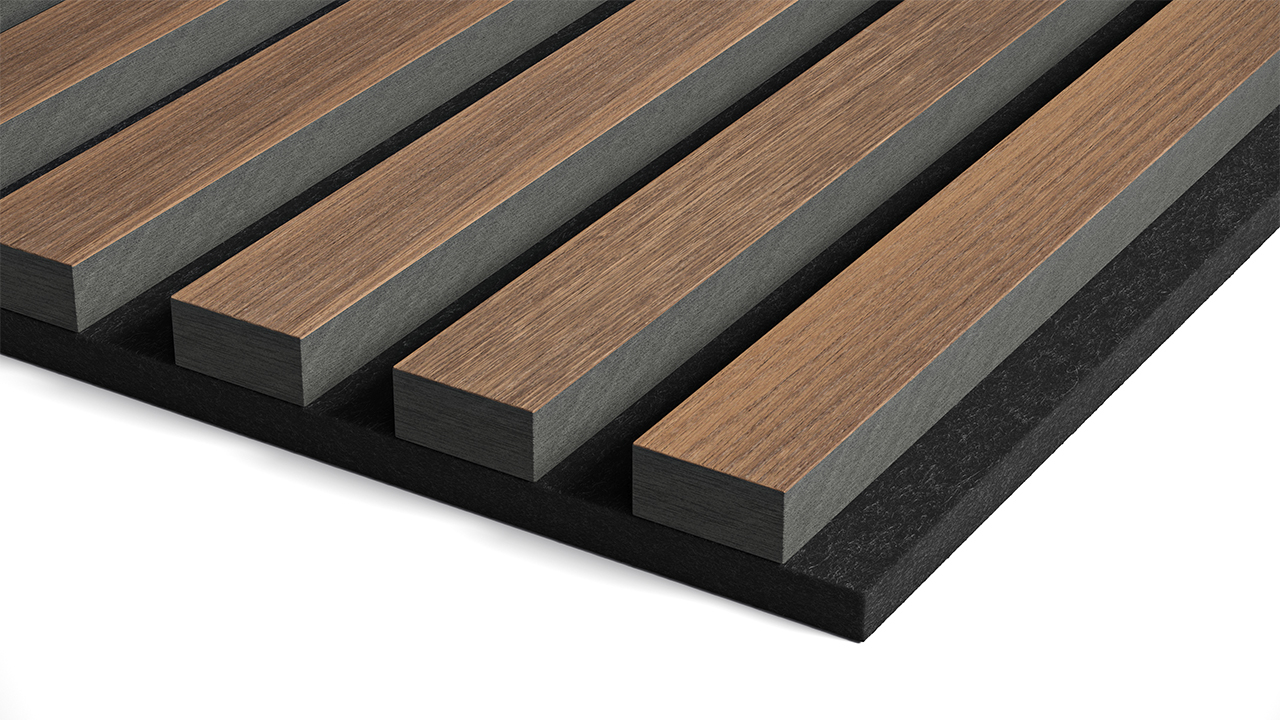 planeo acoustic panels ISO - Oak brown - 240 x 60 cm
54,90 € pro m²
Additional Tips & Tricks
Cable clutter can ruin the polished look of a beautiful TV wall. Use cable channels in matching colours to keep cables neatly hidden.
Instead of placing speakers in front of the TV wall, consider integrating them within the panels. This requires precise measurements and cut-outs to fit the speakers, and conceal cables for a tidy appearance.
Minimalist decor is a great finishing touch for your TV wall. Smaller shelves with selected plants, candles, or picture frames add a touch of personality without overcrowding the area. Ultimately, your personal style will guide how you decorate the TV wall.
Conclusion
Building a DIY TV wall with acoustic panels is quick, easy, and budget-friendly with the right planning and Planeo materials. This DIY project creates a stylish solution that not only looks great but also enhances room acoustics. In short, it’s a fantastic way to upgrade your living room and enjoy for years to come.
Experience the best service with planeo - because you need it!
No matter what challenges you face with your project, planeo provides you with the right solution. Benefit from the advantages of our services:
- Free samples⁴ for many of our products: Order up to 7 free samples, such as our acoustic panels or other wall coverings.
- Express delivery² - for urgent projects and quick decisions.
- Expert advice¹ - We offer professional consultation through our contact page or answer your questions directly in the comments.
These topics might also interest you
Acoustic Panels as a Coat Rack: A DIY Project
DIY Wall Panelling: A Guide to Stylish Walls
How to Cut Acoustic Panels Perfectly – A Foolproof Guide
What Are Acoustic Panels – Focusing on Function and Design
Bathroom Wall Cladding Instead of Tiles – A Tile-Free Approach
Simple and Effective: DIY Acoustic Panels!
Acoustic Panels – Adhesive or Screws: Which Is Better?