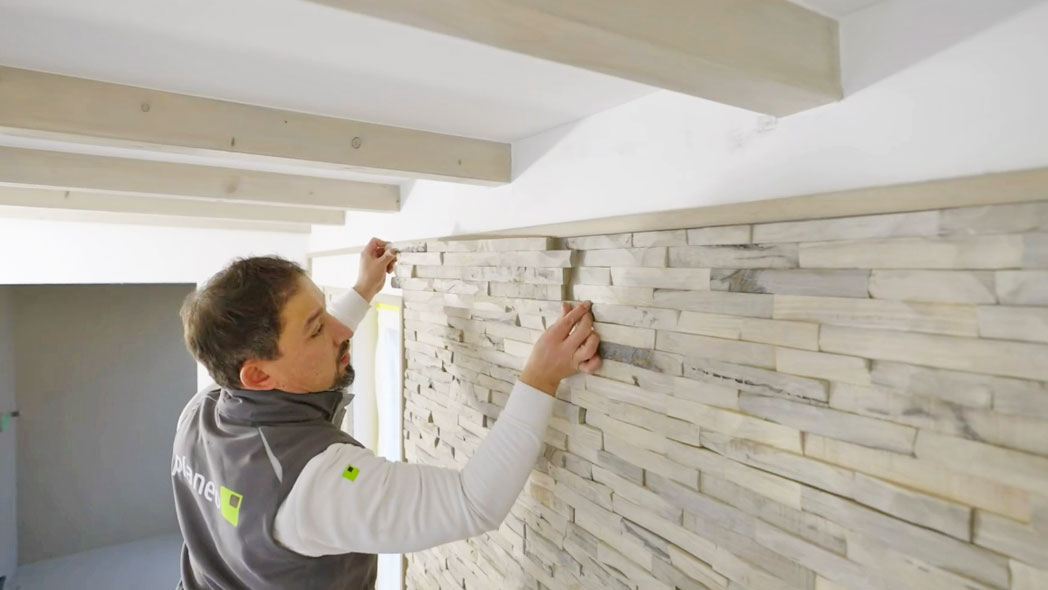
DIY wall panelling can enhance a variety of interior styles, adding an extra touch of elegance to your living spaces. You can choose from several options, such as slat panels or cassette-style panels. Most of these can be built with ease, and the result will be much more affordable than purchasing ready-made panels. This article provides a range of design ideas and step-by-step instructions for creating affordable DIY wall cladding.
Content
- 1 Wall Panelling DIY: So Many Options!
- 2 Where Should You Place the Wall Panelling, and How Large Should It Be?
- 3 What’s the Best Wood to Use?
- 4 DIY Wooden Wall Panelling: A Few Variations
- 5 DIY Swedish Wall Cladding
- 6 DIY Wall Panelling: A Quick Summary
- 7 Experience the best service with planeo - because you need it!
Wall Panelling DIY: So Many Options!
The term "panelling" traditionally refers to wooden boards used to cover walls or ceilings. More broadly, wall panelling can also include coverings made from materials like wood, metal, or plastic. This article focuses on wooden panels and similar materials, such as hardboard.
There’s hardly a decor style that wooden wall panelling doesn’t complement. Additionally, in most cases, it’s easy to build and install the panels yourself. Whether you’re aiming for a country-style wall cladding, a modern minimalist design, or a Scandinavian wooden wall cladding, the possibilities are endless. However, before starting, it’s essential to address a few preliminary questions.
Where Should You Place the Wall Panelling, and How Large Should It Be?
The placement of wall panelling largely depends on your personal aesthetic preferences, and the same goes for the size of the area to be covered.
You can panel an entire wall or limit the height (e.g., one-third of the wall height). You might also choose to panel a small section in both height and width to create a focal point, such as framing a TV.
While aesthetics are a significant consideration, acoustic wall panels also serve a functional purpose by improving room acoustics. The placement of these panels requires careful thought, and a dedicated article provides more detailed guidance.
Note: Wooden wall panelling is not ideally suited for damp areas. In spaces protected from direct splashes, it may work, but in other cases, synthetic materials with a wood effect are a better choice.
Do You Need to Consider Sockets or Windows?
Depending on the placement of your DIY wall panelling, you’ll need to account for spaces around windows or cut-outs for sockets. To create these cut-outs, you can use hole saws.
What’s the Best Wood to Use?
When selecting wood for your DIY wall panelling, it’s crucial to differentiate between visible and hidden wood, especially for designs like acoustic wall panels with slats. The hidden wood, typically a wooden board, serves as the base for the fabric and slats. Here, aesthetic considerations are less important. For such hidden sections, MDF or plywood boards are excellent choices.
The slats themselves can be cut from MDF or solid wood. When choosing, focus on the right type of wood. Options include ash, walnut, and light or dark oak. However, note: In smaller rooms, darker woods can feel overwhelming. Opt for lighter wood varieties in such cases.
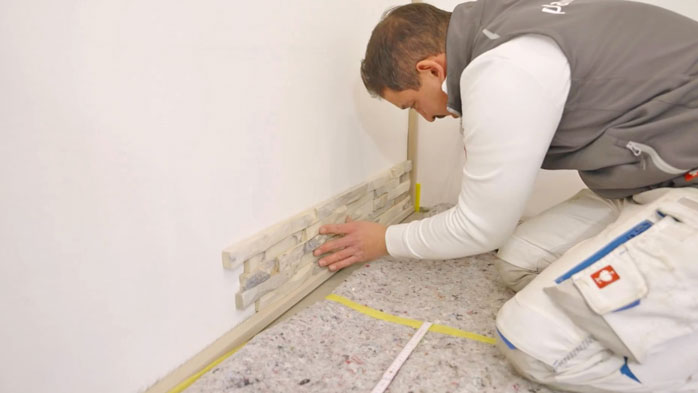
Attractive Options: Painted or Yakisugi Wood
For DIY wooden wall cladding, you have the option to paint or lacquer the wood. If you’re aiming for a Scandinavian wooden wall cladding, a white finish is often ideal.
Another visually striking and highly durable choice is Yakisugi wood. This is not a specific wood type but rather a Japanese wood treatment technique. The wood surface is lightly charred, forming a layer of carbon that is odourless after treatment. For interiors, it’s advisable to coat Yakisugi wood with synthetic resin for added protection. Pre-treated Yakisugi panels often come with this coating.
Traditional Yakisugi uses cedar, but variations in oak or larch are also available. Not only is Yakisugi aesthetically appealing, but it’s also highly resistant to insects and mould, making it suitable for outdoor use.
DIY Wooden Wall Panelling: A Few Variations
Here are some quick guides to help you create different styles of DIY wall panelling. Regardless of the style, meticulous planning of the layout is essential.
The beauty of many DIY wall panelling designs lies in the consistent spacing between slats, as well as uniform slat lengths and widths. Breaking this uniformity, for instance, with uneven slat widths, can disrupt the overall visual appeal.
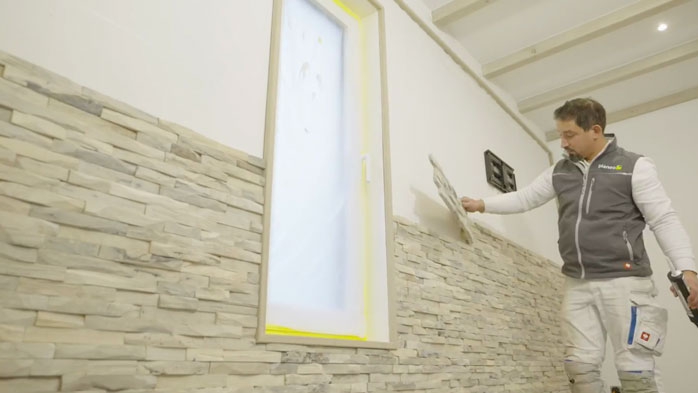
Cassette-Style Wall Panelling
Cassette-style wall panelling consists of wooden boards framed by wooden slats. In a country-style room, a half-height cassette panelling can be particularly charming, especially with a white finish. Here’s how you can build your own cassette wall panelling:
- Start by constructing a support framework to attach the cassettes. This framework is made from horizontal wooden slats fixed to the wall.
- Space the slats so that the wooden boards required for the cassettes can be screwed on at the top and bottom.
- Next, attach the boards (e.g., chipboard) to the framework. Screw through the boards in areas that will later be covered by the slats forming the frame.
- Apply an initial coat of paint to the boards as a base layer.
- Frame the boards on the left and right with appropriately cut slats. Leave a gap at the bottom for a skirting board. The top horizontal slat can span multiple cassettes.
- Use decorator's caulk to smooth the transitions between boards and slats. Finally, paint all visible parts of the cassettes with white acrylic paint.
A Simpler Version of Cassette Panelling
The framework described above has the advantage of preventing mould and providing space for cables or insulation. However, a simpler version of cassette panelling can be built without this framework. In this case, attach wooden slats directly to the wall to form the frame, with the wall itself acting as the panel.
DIY Acoustic Wall Panels
For creating acoustic wall panels, a dedicated article offers detailed instructions. In brief, traditional acoustic panels consist of a wooden board, fabric backing, and multiple wooden slats fixed at regular intervals.
The boards can be screwed to the wall or glued using special mounting adhesives.
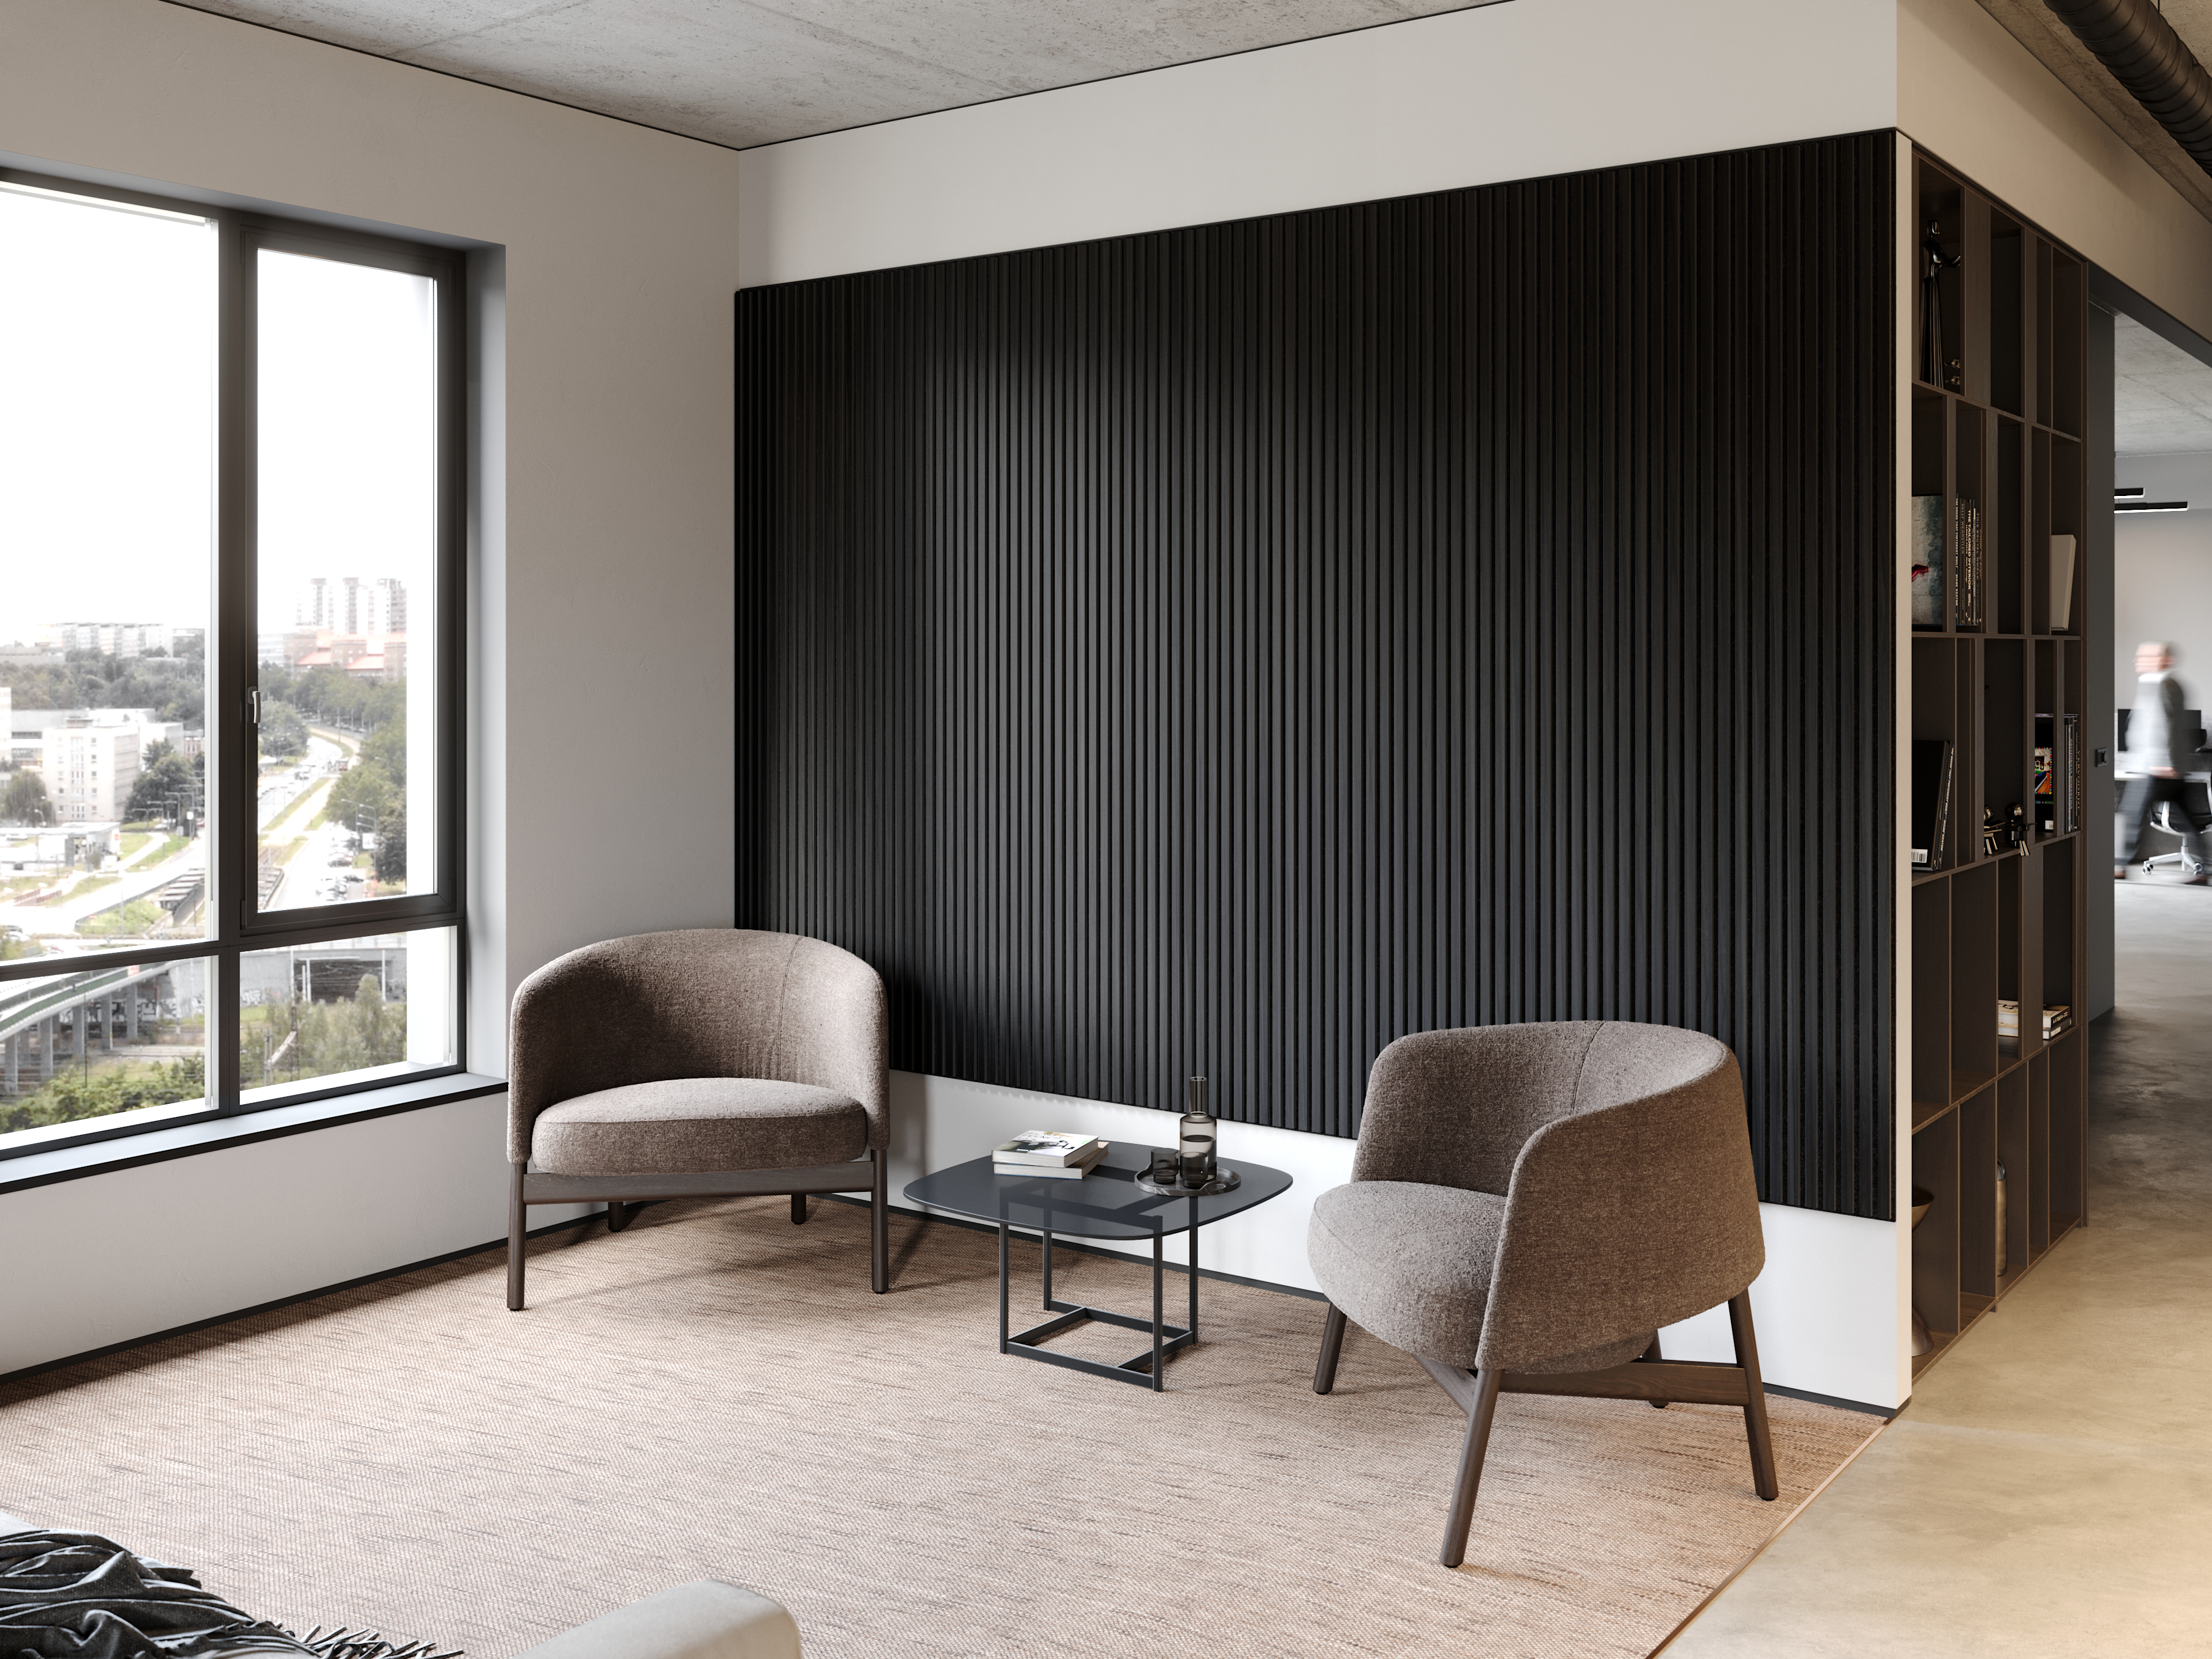 planeo acoustic panels ISO - black oak - 240 x 60 cm
59,90 € pro m²
 planeo acoustic panels ISO - natural oak - 240 x 60 cm
59,90 € pro m²
Building a Feature Wall
If you want to create a wooden feature wall for your living room, a feature wall is a great option. Unlike other panelling styles, which follow strict geometric patterns like grids or squares, feature walls adopt less formal designs.
One example involves attaching vertical slats at regular intervals. Each slat might cover four-fifths of the wall’s height, with the first slat reaching the ceiling, the next the floor, and so on.
Alternatively, you could create an irregular pattern with slanted rectangles of varying sizes. Some rectangles may have their wider side slanting left or right, while others may slant up or down.
In both cases, the slats are attached directly to the wall. Feature walls offer numerous creative possibilities and stand out distinctly from traditional styles like cassette-style panelling.
DIY Swedish Wall Cladding
In a broad sense, any wooden wall cladding painted white or in light tones is often referred to as Swedish or Scandinavian. Why? Because these styles are characteristic of Nordic design. More specifically, it often refers to vertical wooden slats arranged in patterns such as:
- covering the entire width and height of a wall,
- covering the full width but only half or less of the wall’s height,
- full height on a portion of the wall’s width,
- partial width and height, e.g., half the wall’s height.
For a neat finish, you can add a skirting board at the bottom and a decorative moulding at the top. As with cassette-style panelling, a support framework is often recommended for Swedish cladding. This allows you to screw the slats into place, minimising visible screws by attaching the slats to horizontal battens first, which are then fixed to the wall.
Let your creativity and sense of aesthetics shine: partial Swedish cladding works wonderfully as a stylish backdrop, for instance, behind a coat rack in the hallway.
 Meister Panels - Tertio 200 Ash Pearl White 382
14,90 € pro m²
 Meister Panels - Tertio 200 Pine-Crème 385
14,90 € pro m²
DIY Wall Panelling: A Quick Summary
This article has shown that with a bit of craftsmanship, you can build various types of DIY wooden wall cladding. You’ll save money and enhance your interiors with unique charm. Careful planning is essential to ensure success. When done correctly, the result will be a stunning feature that you’ll enjoy for years to come.
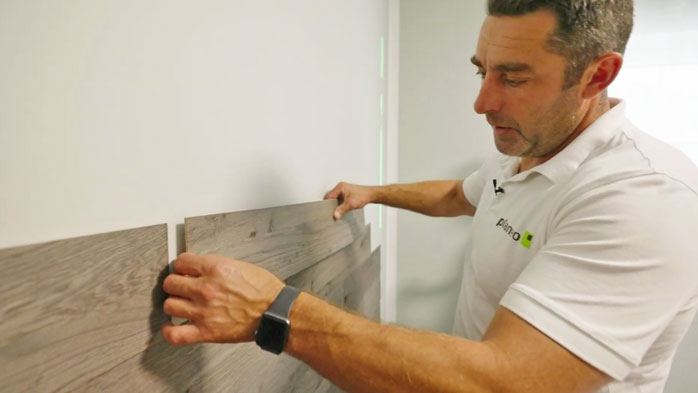
Experience the best service with planeo - because you need it!
No matter what challenges you face with your project, planeo provides you with the right solution. Benefit from the advantages of our services:
- Free samples⁴ for many of our products: Order up to 7 free samples, such as our acoustic panels or other wall coverings.
- Express delivery² - for urgent projects and quick decisions.
- Expert advice¹ - We offer professional consultation through our contact page or answer your questions directly in the comments.
These topics might also interest you
Acoustic Panels as a Coat Rack: A DIY Project
How to Cut Acoustic Panels Perfectly – A Foolproof Guide
What Are Acoustic Panels – Focusing on Function and Design
Bathroom Wall Cladding Instead of Tiles – A Tile-Free Approach
Simple and Effective: DIY Acoustic Panels!
Acoustic Panels – Adhesive or Screws: Which Is Better?
Step-by-Step Guide: Install Wall Panels