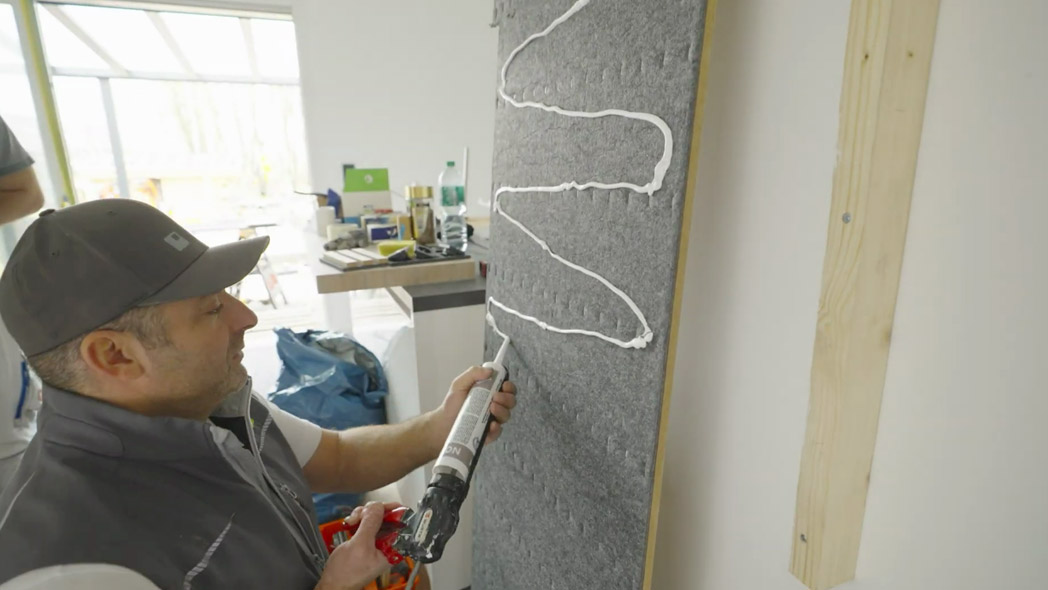
Acoustic panels can optimise room acoustics in both residential and commercial spaces by reducing reverberation and volume. For optimal acoustic effects, consider the best placement of the panels in the room. Both functional and aesthetic aspects play a role here.
Next comes the question: how do you secure the acoustic panels? You can either glue or screw them in place; each method has its pros and cons. This article focuses on screwing acoustic panels to the wall, covering key points to consider and providing a step-by-step guide.
Content
- 1 Securing Acoustic Panels: Where to Place Them?
- 2 Where Acoustic Panels Are Unsuitable
- 3 Acoustic Panels as a Visual Feature
- 4 Mounting Acoustic Panels: Why Screw Rather Than Glue?
- 5 Screwing Acoustic Panels: A Guide
- 6 Installing Acoustic Panels Without Adhesive: Using a Substructure
- 7 Mounting Acoustic Panels: Careful Installation Ensures Success!
- 8 Experience the best service with planeo - because you need it!
Securing Acoustic Panels: Where to Place Them?
When deciding where to place your acoustic panels, it’s essential to differentiate between direct sound and reflected sound. Direct sound travels from the source (e.g., a speaker in a seminar or a TV) straight to your ear, whereas reflected sound bounces off reflective surfaces in the room, reaching you indirectly.
For instance, if you want to dampen background noise in an open-plan office, it’s generally advisable to reduce both direct and reflected sound. Desk dividers or room partitions equipped with acoustic panels can help manage direct sound.
Reflected sound can be reduced by installing acoustic panels on walls and ceilings. To determine the best position on a wall or ceiling, you can use the mirror method. This method takes advantage of sound waves’ behaviour, which is similar to light waves when they hit surfaces. If you know the position of a sound source in an open-plan office and the location of the person affected by the noise, you can estimate the point on the wall that reflects the disruptive sound wave using the formula “angle of incidence = angle of reflection.” This point would be the optimal place for an acoustic panel.
In a home cinema, the goal is often less about noise reduction and more about sound quality improvement, meaning direct sound may not need as much damping. In this case, focus primarily on reducing reflected sound using the outlined methods.
Note: These guidelines are especially important if you’re working to correct very poor room acoustics. In other cases, it’s usually not a big issue if they’re not followed precisely. For example, if you’re only aiming to enhance acoustics slightly for a home cinema, you can have more freedom in positioning the acoustic panels and can emphasise aesthetic considerations.
Where Acoustic Panels Are Unsuitable
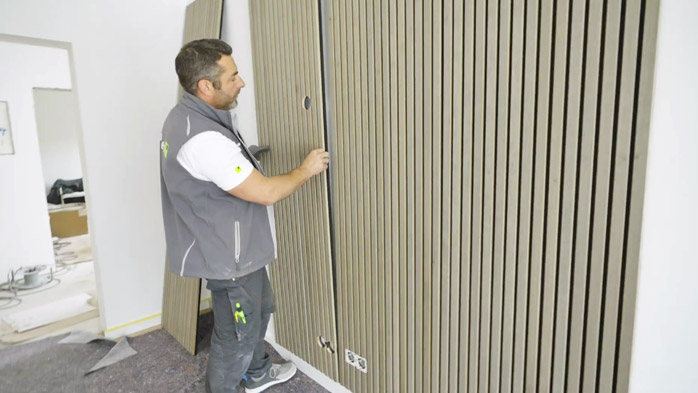
Most acoustic panels are intended for indoor use only, so they should be installed exclusively in interior spaces. You should also be cautious when installing them in damp rooms, such as bathrooms, as they generally do not tolerate splashing water well. Refer to the standard DIN VDE 0100-701, which defines safety zones 0 to 3 for bathrooms.
Rule of thumb: The lower the number, the higher the risk of splashing water. Avoid installing acoustic panels in areas like shower enclosures or above the bathtub. Even walls at some distance from the shower or tub may often be unsuitable for panel installation.
Acoustic Panels as a Visual Feature
Acoustic panels are available with or without fabric covering. Sometimes, they frame furniture, such as a sideboard, making it a focal point in the room. You can install acoustic panels horizontally or vertically to create unique accents. These decisions enhance the function of acoustic panels as an attractive element in interior design, complementing their acoustic performance.
Mounting Acoustic Panels: Why Screw Rather Than Glue?
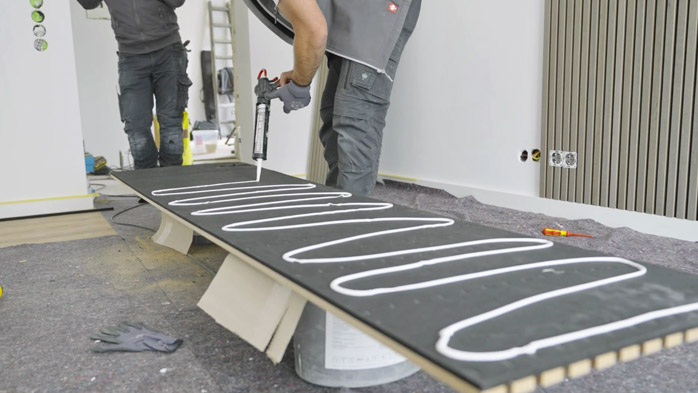
Is it possible to secure acoustic panels without drilling? Absolutely. If you wish to attach acoustic panels to the wall, you can sometimes glue them in place. This method is often simpler than screwing and, for this reason, is sometimes the best choice. However, screwing offers greater stability, as not all panels that can be screwed into the wall can be glued effectively.
Advantages of Screwing
- Screwing allows for the installation of heavier panels compared to gluing
- Screwed acoustic panels are easier to remove
Additionally, there is another advantage to using screws with a substructure. For example, you can use panels as wall cladding around a TV (flat screen) and conceal necessary cables within the substructure. The spaces between the wall and panels, framed by wooden battens, can also be filled with a material like mineral wool, providing both sound and thermal insulation.
Disadvantages of Screwing
- Screwing in acoustic panels is more labour-intensive than gluing
- Drilling requires attention to wall wiring
- Screwing leaves holes in the wall, which may need repairing when moving out
Direct Screwing or Using a Substructure?
If you intend to screw acoustic panels, you can either attach them directly to the wall with screws or install a substructure onto which you can mount the panels. Both methods avoid the disadvantages of gluing, such as the difficulty of removing glued panels from the wall. However, with a substructure, the advantages, such as greater stability, and the disadvantages, like increased installation effort, are more pronounced.
Screwing Acoustic Panels: A Guide
If you plan to screw in an acoustic panel, start with a few preparatory steps. This includes marking the location on the wall where you’ll be installing the panel. The following guide outlines each step for securely screwing in acoustic panels.
Mark the Wall
First, as previously mentioned, mark the spot on the wall where you want to place the acoustic panel.
Clean the Surface
Next, check whether the surface is suitable for panel installation. If not, remove any dust, grease, or significant unevenness or dents. You can mark uneven areas and sand them down with an orbital sander if necessary. If you need to fill dents, use repair filler. Dust can be wiped away with a dry paper towel, while common degreasers work well for grease removal.
Prepare the Acoustic Panels
Sometimes, you may need to make slight adjustments to the acoustic panels before installing them. Often, some fabric may overhang the sides, which can be removed with a sharp knife. If the panel dimensions don’t fit, you can cut them to size with a saw, starting from the back of the panel. This ensures a clean edge that won’t affect the appearance of the front side.
In some cases, cutouts for outlets may be necessary. Attach a hole saw to a drill and create a circular hole in the panel. Remember, only certified electricians should install outlets.
One more thing to note: If you’re installing two panels next to each other, ensure that the fabric edge of one panel aligns with the wooden slat of the adjacent panel. If fabric edges or slats align directly, it can create an uneven appearance.
Drill Holes in the Wall and Insert Wall Plugs
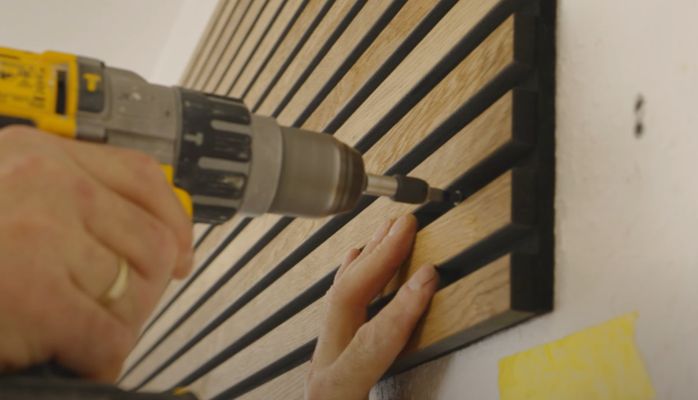
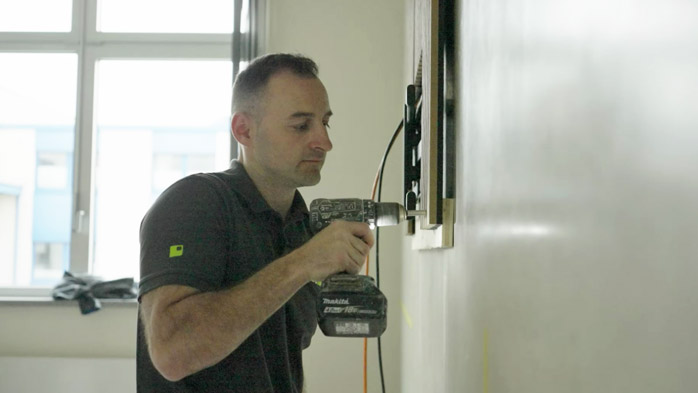
Press the acoustic panel against the wall surface and drill holes through the panel’s fabric and into the wall. Then, insert wall plugs into these holes to secure the screws that will hold the panel in place.
Check for Electrical Wiring
When choosing where to drill, consider any possible electrical wiring in the wall. If wiring has been laid in compliance with DIN 18015-3, it should run only horizontally or vertically within the walls. There are also minimum and maximum distances from the wiring to the floor and ceiling. With a view of sockets and light fittings, you’ll have a rough idea of where wiring might be located.
Note: In older houses, non-standard wiring layouts may exist. A stud finder can help you locate any wiring embedded within the wall.
Pre-Drill Before Drilling
If you prefer not to drill through the fabric of an acoustic panel with a larger drill bit, you can first use a smaller drill bit to make a shallow hole through the fabric and mark the wall. Then, use a larger drill bit directly on the marked spot to drill into the wall.
Number of Screws
To securely install a panel 240 cm in length, you’ll need approximately 13 screws at 20 cm intervals. Hold the first panel in place at the marked position on the wall and drill through the fabric to create shallow holes in the wall. This task is best done with a second person to help hold the panel steady. Rough positioning of the drill holes is sufficient.
 planeo acoustic panels ISO - natural oiled oak - 240 x 60 cm
54,90 € pro m²
 planeo acoustic panels ISO - Greige oak - 240 x 60 cm
54,90 € pro m²
Installing Acoustic Panels Without Adhesive: Using a Substructure
For a substructure to which you’ll secure the acoustic panels, start by cutting wooden battens to the appropriate size. Mount the battens horizontally on the wall, with a recommended vertical spacing of 50 cm between them.
If the substructure is intended to hide cables (e.g., for a TV surrounded by acoustic panels), consider routing a cable channel on the side of the battens facing the wall.
Once the battens are secured to the wall, you can attach the acoustic panels to them. If you want to fill the spaces between the wall and the acoustic panels with a material such as mineral wool, cut the wool to size beforehand and press it between the wooden battens.
After securing the acoustic panels, you can use fabric strips cut to size to close the gap between the wall and battens along the substructure’s edges for a polished look.
Mounting Acoustic Panels: Careful Installation Ensures Success!
Wall-mounting an acoustic panel doesn’t require much effort or time. With the right care, you’ll quickly achieve an acoustically improved room with a visually appealing result. The question of "To Glue or To Screw?" often depends on personal preference. However, the heavier the panel, the more you should lean towards the screwing method outlined here. It’s essential to mount the panels securely so that they’re durable and functional.
Experience the best service with planeo - because you need it!
No matter what challenges you face with your project, planeo provides you with the right solution. Benefit from the advantages of our services:
- Free samples⁴ for many of our products: Order up to 7 free samples, such as our acoustic panels or other wall coverings.
- Express delivery² - for urgent projects and quick decisions.
- Expert advice¹ - We offer professional consultation through our contact page or answer your questions directly in the comments.
These topics might also interest you
Acoustic Panels as a Coat Rack: A DIY Project
DIY Wall Panelling: A Guide to Stylish Walls
How to Cut Acoustic Panels Perfectly – A Foolproof Guide
What Are Acoustic Panels – Focusing on Function and Design
Bathroom Wall Cladding Instead of Tiles – A Tile-Free Approach
Simple and Effective: DIY Acoustic Panels!
Acoustic Panels – Adhesive or Screws: Which Is Better?