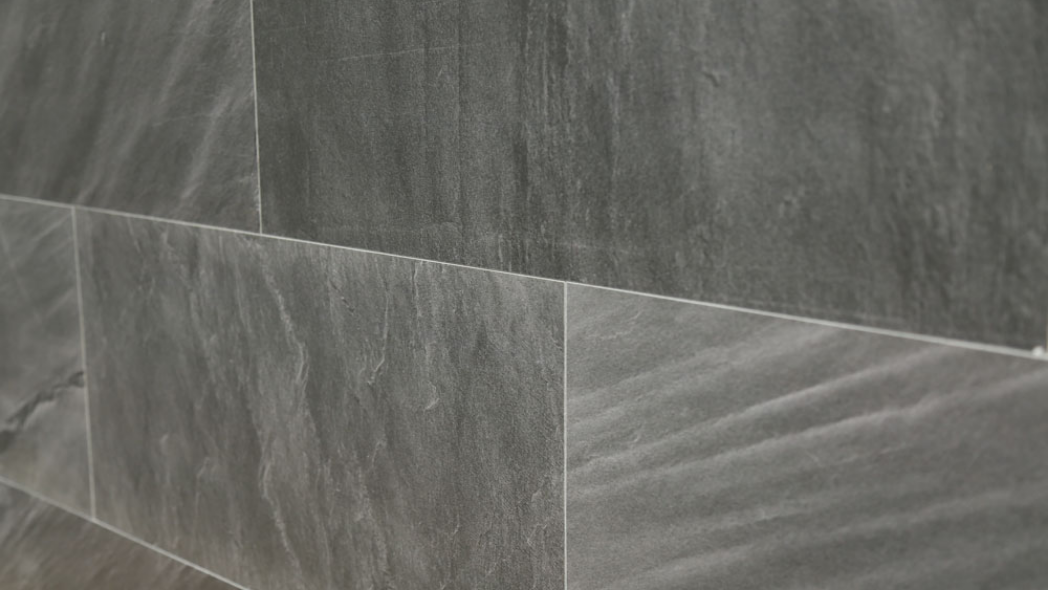
The planeo wall cladding system is incredibly simple to install. Pre-finished panels with TESA adhesive strips on the back just need to be affixed straight to the wall. Here, we answer the most common questions from real-world applications.
Content
- 1 Is planeo wall cladding suitable for wet areas?
- 2 Can planeo wall panels be used as a shower wall?
- 3 Are the joints of planeo wall cladding waterproof?
- 4 How do you seal planeo wall panels in wet areas?
- 5 Should wall cladding be sealed at the floating floor?
- 6 Is there a risk of mould between wall panels and tiles?
- 7 What surfaces can planeo wall cladding be applied to?
- 8 Do old tiles need to be pre-treated before applying planeo wall cladding?
- 9 How do you remove the adhesive strips from the wall later?
- 10 What material is planeo wall cladding made of?
- 11 Which adhesive is suitable for additional fixing of planeo wall panels?
- 12 Is planeo wall cladding free from harmful substances, plasticisers, and does it have low emissions?
- 13 Does planeo wall cladding need to acclimatise?
- 14 Should planeo wall cladding be interrupted by expansion joints for large areas?
- 15 How do you install planeo wall cladding?
- 16 Can planeo wall cladding be installed vertically?
- 17 What temperatures can planeo wall cladding withstand?
- 18 How do you clean planeo wall panels?
- 19 Where should planeo wall cladding not be used?
- 20 Do planeo wall panels detach from the wall due to high humidity in the bathroom?
- 21 What solutions are available for corners and edges?
- 22 Experience the best service with planeo - because you need it!
Is planeo wall cladding suitable for wet areas?
Yes. Both the panels and the adhesive tape are 100% waterproof, making waterproof bathroom wall cladding ideal for use in wet rooms such as bathrooms.
Can planeo wall panels be used as a shower wall?
Yes, planeo wall panels can also be installed in the shower area. Simply stick them directly onto your old tiles.
PLEASE NOTE:
As with traditional tiling, the substrate must be permanently sealed and dry. Water must be able to drain completely.
Are the joints of planeo wall cladding waterproof?
Water can penetrate through joints. The planeo wall panels are horizontally equipped with a tongue and groove system, allowing shower water to run off the surface. Only a strong water jet from the showerhead can penetrate vertical joints, which are butt-joined without a tongue and groove. This is not an issue for the panels or the adhesive, as they do not absorb water and dry quickly. A gap must be left at the bottom so any water reaching the back can drain completely.
Alternatively, you can fully seal all joints in the shower with waterproof sealant or silicone.
How do you seal planeo wall panels in wet areas?
The planeo cladding system works differently from traditional tiles. The panels are not sealed with grout. However, planeo wall cladding can still be used in wet rooms and damp areas. The surface behind must meet the required waterproofing standards, meaning walls and floors must be professionally sealed beforehand.
A complete seal of the planeo wall cladding is not necessary. Water and moisture must be able to escape at all times. Therefore, it is advisable to leave the surface open at the top and bottom. A vertical internal corner in the shower can be sealed with silicone.
In the shower area, leave a small gap (at least the material thickness) for air at both the top and bottom ends. Removing the last 2 cm of adhesive strips at the bottom can help. This allows better air circulation and free drainage of water. The panels dry quickly.
Should wall cladding be sealed at the floating floor?
The floor should be treated separately from the planeo wall panels. Being floating, it must be sealed at the wall junction in wet areas using a round cord and silicone. (Refer to the previous video from minute 2:58.) This prevents standing water on the floor from seeping behind or underneath.
IMPORTANT: Silicone sealing is not permanent and requires maintenance! It does not guarantee lasting waterproofing. Long-term waterproofing at the floor-wall junction can be achieved with sealing tapes and specialised sealant.
Planeo wall panels are not designed as a watertight surface. Moisture may penetrate behind them under a strong shower jet. The adhesive strips maintain a 1-2 mm gap from the wall. For this reason, a small gap should be left at the bottom edge, especially in wet areas. Water draining at the back flows out through the gap at the bottom. The panels dry within 10 minutes due to their material properties.
Water does not damage the panels or the adhesive strips, even at the back. Therefore, it is a safe and ideal wall cladding for bathrooms.
Is there a risk of mould between wall panels and tiles?
No. planeo wall cladding dries within 10 minutes due to its material properties. Mould can only form if there is no air circulation or if quick drying is not ensured.
If mould was already present before the renovation, this indicates a dew point issue and insufficient drying. The cause of mould in the bathroom should be addressed. The wall panels are not the cause if mould appears.
What surfaces can planeo wall cladding be applied to?
In dry rooms, all flat, solid, dry, and dust-free surfaces are suitable. The adhesive strips adhere permanently to plaster, straight masonry, drywall panels such as plasterboard, OSB boards, and chipboards.
You can also apply planeo wall cladding to plastered walls. The surfaces should be as smooth as possible and not dusty. If in doubt, apply a primer beforehand. Textured plaster can be more challenging, as the adhesive strips may not have enough contact points on the textured surface. In such cases, you can use mounting adhesive from a tube at specific points. The rougher the plaster, the more likely you will need mounting adhesive.
Old wall panels that are no longer modern can be used as a substrate for planeo wall cladding. Firmly adhering wallpaper can also be suitable, although this cannot be guaranteed.
Vinyl wallpapers, however, should be removed beforehand. Their plasticisers or soluble substances could cause unpredictable reactions with the TESA adhesive strips.
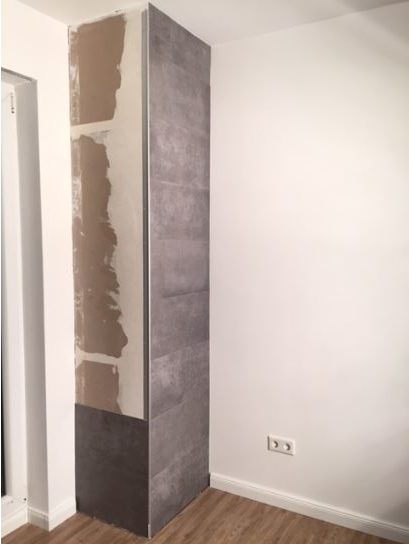
Treat sanding plaster, dusty, or sandy surfaces with a standard primer before application.
Even on old plasterboard with torn wallpaper, planeo wall cladding adheres well. If in doubt, prime the surface beforehand.
In wet rooms, waterproof substrates are required. These include tiles, painted surfaces, and surfaces coated with latex paint. The surfaces must not be porous.
planeo wall cladding also adheres to lacquered cork. For raw cork surfaces, perform a preliminary test. Depending on the surface structure, cork may be too porous for long-term adhesion. A prior application of a lacquer layer may ensure a permanent hold. Adhesion on oiled cork cannot be guaranteed.
Teflon-coated surfaces are unsuitable as a substrate.
Do old tiles need to be pre-treated before applying planeo wall cladding?
No. Simply perform a basic cleaning. Old care layers and grease residues must be removed. Once this is done, the cladding will adhere permanently to the tiles.
In wet areas, such as a shower, check whether the old tiles are sealed. Cracks, for example, indicate that water could penetrate the wall. Ensure the wall surfaces are sealed before applying planeo wall cladding.
How do you remove the adhesive strips from the wall later?
Remove as much of the strips as possible and scrape off any coarse residues mechanically. Adhesive residues can be removed using sticker removers, label solvents, or acetone.
What material is planeo wall cladding made of?
planeo wall cladding is made from a particularly lightweight coextruded PVC foam board. The outer shell consists of rigid PVC on both sides, with a foamed core. This results in an extremely light weight. The surface is then printed with the chosen decor through a printing process, and a highly durable coating protects the decor from wear.
Which adhesive is suitable for additional fixing of planeo wall panels?
In most cases, the additional blue TESA strips are sufficient to secure the edges at sections, cut-outs, and recesses. These strips must be ordered separately.
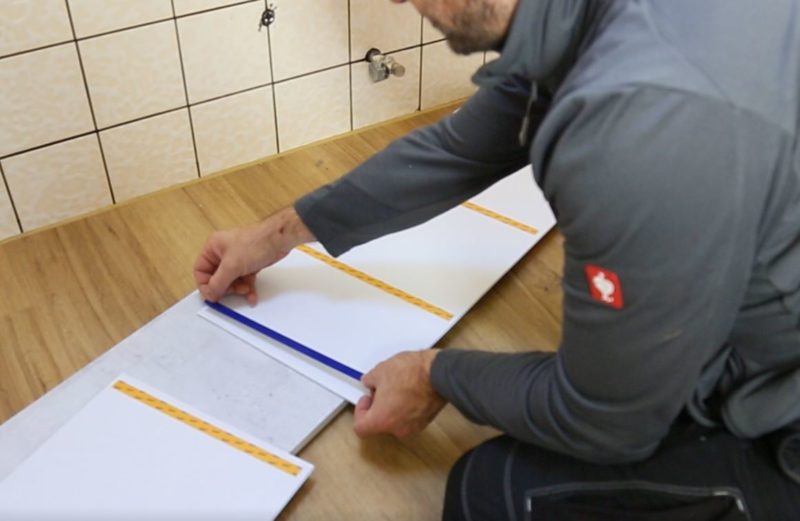
Alternatively, you can use tube adhesive based on polymer. PU adhesive can also be used in specific areas to secure partial sections. The adhesive should be compatible with PVC.
Is planeo wall cladding free from harmful substances, plasticisers, and does it have low emissions?
planeo wall cladding is certified with the French A+ emissions class, which is the highest standard for emissions. It is even stricter in some aspects than the German Blue Angel certification. This means that volatile organic compounds (VOCs) are barely measurable.
planeo wall cladding is made from a coextruded rigid PVC shell with a foamed PVC core. The material is free from plasticisers.
Does planeo wall cladding need to acclimatise?
Yes, the wall cladding should ideally acclimatise in the relevant rooms for 48 hours. Installation should take place at a room temperature of 15-25°C to ensure optimal adhesive performance.
Should planeo wall cladding be interrupted by expansion joints for large areas?
No, each panel is independent and limited in its movement. You can install unlimited dimensions. However, leave a gap of about 4mm at the edges, corresponding to the material thickness.
How do you install planeo wall cladding?
Watch our installation video for detailed guidance. For further questions, contact us at info@planeo.de.
Can planeo wall cladding be installed vertically?
Yes. Although the panels are designed for horizontal installation, as indicated by the tongue and groove system on the long sides, they can also be installed vertically.
If you are concerned that the adhesive strips on the back might not provide sufficient hold, you can reinforce the panels with additional strips.
Additional TESA adhesive strips for planeo wall panels are available here.
What temperatures can planeo wall cladding withstand?
planeo wall cladding should be used in a frost-free environment and not exposed to continuous temperatures above 40°C. Short-term temperatures of up to 60°C will not cause damage.
How do you clean planeo wall panels?
Simply use a soft damp cloth. Avoid sharp objects or abrasive cleaners.
Where should planeo wall cladding not be used?
planeo wall cladding should not be used in outdoor areas or near heat sources that could raise the material temperature above 40°C for extended periods, such as fireplaces, radiators, or cooktops.
Do planeo wall panels detach from the wall due to high humidity in the bathroom?
Humidity does not affect the adhesive. Water that seeps behind the panels does not harm the adhesive. The panels remain securely fixed to the wall. Mould will not form if a ventilation gap is maintained as instructed. Excess water can drain away, and the panels dry quickly.
The substrate must be waterproof.
What solutions are available for corners and edges?
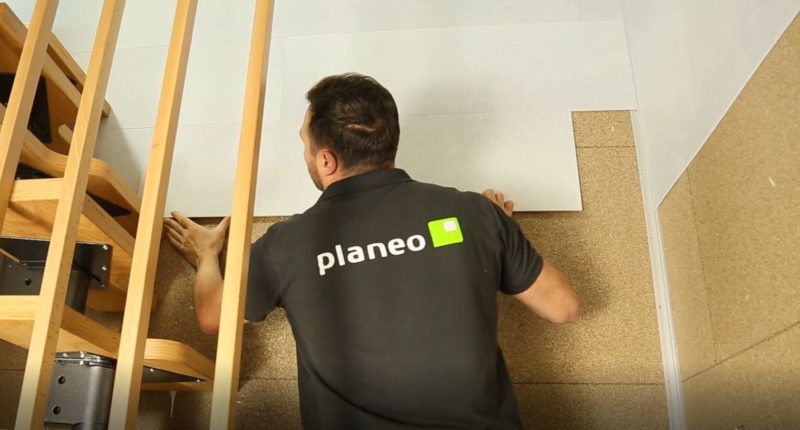
Here are some solutions available from our shop. As suitable accessories for fixing planeo wall cladding, you can find TESA adhesive strips or mounting adhesive in a tube. Cut wall panels can also be secured with TESA adhesive strips or mounting adhesive.
For internal corners, external corners, and edges, the following aluminium profiles are ideal:
For a 90° internal corner, use this internal corner aluminium profile. It provides a clean transition to the adjacent wall with a subtle inner radius.
A 90° external corner is best protected with the external corner aluminium profile, which also features a subtle radius. This provides maximum protection for the wall corner while minimising the risk of injury.
If you need a solution for a straight wall edge in the middle of a room, the end profile aluminium trim is a great choice. Its sleek curve perfectly finishes the edge of your wall cladding.
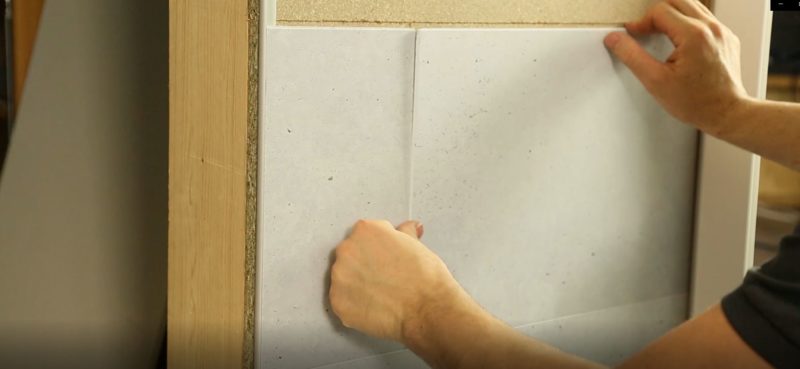
Attach the aluminium profile using mounting adhesive or screws in the designated holes. Then fix the wall cladding flush with the profile. These aluminium trims provide durable protection and a polished finish for your wall cladding.
Experience the best service with planeo - because you need it!
No matter what challenges you face with your project, planeo provides you with the right solution. Benefit from the advantages of our services:
- Free samples⁴ for many of our products: Order up to 7 free samples, such as our acoustic panels or other wall coverings.
- Express delivery² - for urgent projects and quick decisions.
- Expert advice¹ - We offer professional consultation through our contact page or answer your questions directly in the comments.
These topics might also interest you
DIY Wall Panelling: A Guide to Stylish Walls
How to Cut Acoustic Panels Perfectly – A Foolproof Guide
What Are Acoustic Panels – Focusing on Function and Design
Bathroom Wall Cladding Instead of Tiles – A Tile-Free Approach
Simple and Effective: DIY Acoustic Panels!
Acoustic Panels – Adhesive or Screws: Which Is Better?
Step-by-Step Guide: Install Wall Panels