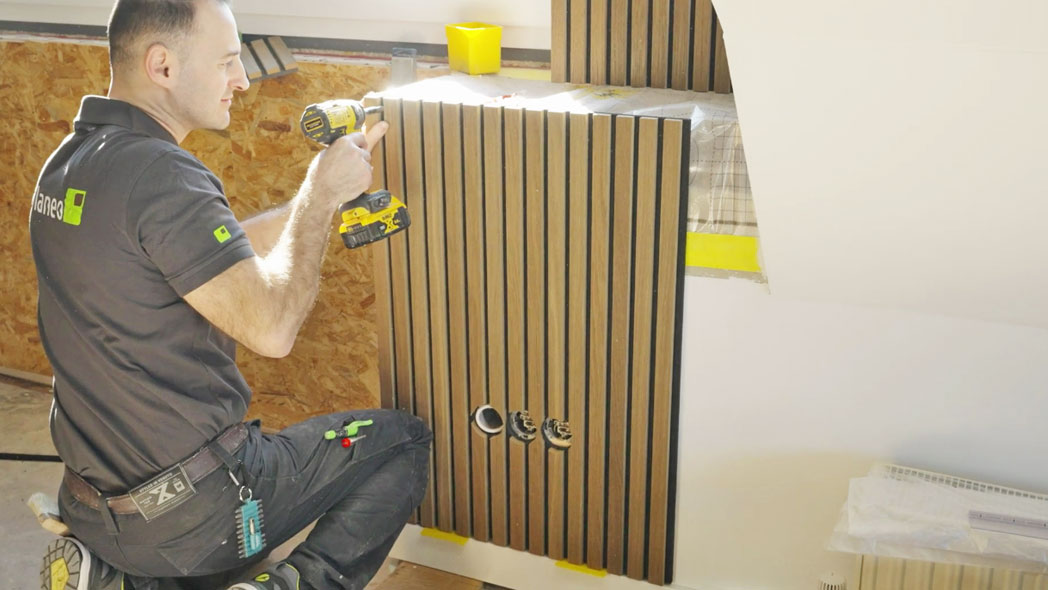
Acoustic panels can significantly enhance a room's acoustic properties, reducing echo and improving speech clarity. Building your own acoustic panels is straightforward and can save money compared to purchasing ready-made ones. This article focuses on panels made from wood and acoustic fleece. You'll learn how to build your own DIY wooden acoustic panels and how to calculate the number of panels required for your space.
Content
- 1 DIY Slat Wall: What Are Acoustic Panels?
- 2 How Effective Are Acoustic Panels?
- 3 How Many Acoustic Panels Do You Need for a Room?
- 4 How Are Acoustic Panels Constructed?
- 5 DIY Acoustic Panels: A Step-by-Step Guide
- 6 Creative Ideas for Custom Room Acoustics
- 7 DIY Acoustic Panels: A Quick Summary
- 8 Experience the best service with planeo - because you need it!
DIY Slat Wall: What Are Acoustic Panels?
Acoustic panels are designed to optimise room acoustics, reducing sound reflections and background noise. Unlike structural soundproofing, which limits the transmission of sound between rooms, acoustic panels are ideal for:
- enhancing sound quality in home cinema setups,
- ensuring speakers are clearly heard in conference or seminar rooms,
- creating a pleasant conversational atmosphere in restaurants and bars,
- improving acoustics in concert halls.
Acoustic panels help to dampen loud noises and reduce echo, making speech, music, and other acoustic signals clearer. They are suitable for use in classrooms, seminar and conference rooms, large concert halls, or small living rooms with high-end HiFi or home cinema systems.
An added benefit of wooden acoustic panels: they can absorb and release moisture, contributing to a better indoor climate.
How Effective Are Acoustic Panels?
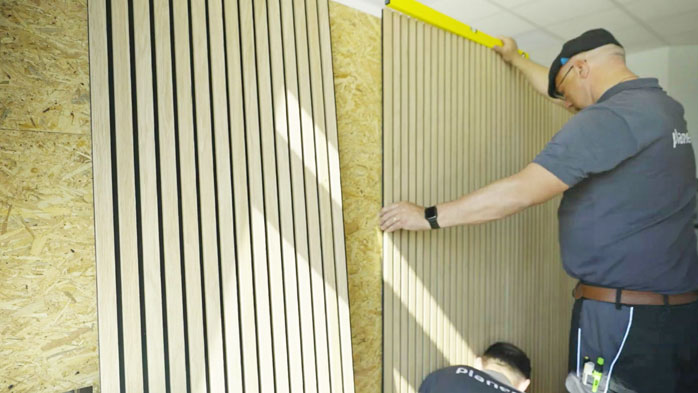
You might wonder: how effective are acoustic panels? Unlike soundproofing materials, which can be assessed using the sound reduction index, acoustic panels lack a similarly definitive metric.
However, some retailers provide absorption class ratings based on DIN EN 11654, as well as sound absorption coefficients. The latter measures the proportion of sound absorbed by the panel, ranging from 0 (no absorption) to 1 (complete absorption).
Absorption classes range from A to E, with Class A achieving a sound absorption coefficient of at least 0.9, and Class E ranging between 0.15 and 0.25. It's worth noting that Class A isn't always necessary; Class C often suffices for optimal room acoustics.
How Many Acoustic Panels Do You Need for a Room?
You don’t need to cover every wall with acoustic panels to optimise room acoustics. A simple rule of thumb is:
Divide the floor area in square metres by 4 to determine the required panelled surface for effective acoustic performance.
For example, in a 20-square-metre room, about 5 square metres of acoustic panels will provide optimal results. If the calculation gives a fractional value, you can round it up or down as needed.
In some cases, it makes sense to create a DIY batten wall, covering an entire wall with acoustic panels. This choice depends not only on acoustic needs but also on personal aesthetic preferences.
Best Placement for Acoustic Panels
The ideal placement varies by room. In a living room, it’s often best to position the panels opposite the main sound source, such as a TV or stereo system. In a bedroom, panels work well above the headboard.
How Are Acoustic Panels Constructed?
When building your own DIY acoustic wall, it’s crucial to understand the typical panel structure. The base often consists of MDF or OSB boards. OSB boards, also known as oriented strand boards, are made from large wood chips. MDF boards are medium-density fibreboards, crafted from finer wood fibres.
One side of the board is covered with acoustic fleece, onto which wooden slats are mounted at regular intervals. These slats can be made of solid wood or veneered MDF. Solid wood is often favoured for its superior acoustic performance and aesthetic appeal, while veneered MDF is a more cost-effective option.
There are also variations to this setup. For example, you could skip the MDF or OSB board entirely, using felt or other acoustic materials directly attached to two horizontal battens at the top and bottom of the slats. Alternatively, foam can be used in place of acoustic fleece.
Types of Wood for Acoustic Panel Slats
Choosing the right type of wood for your acoustic panel slats involves considering aesthetic aspects, room decor, and personal preferences. Your acoustic panels should harmonise with the room's colour scheme and interior design.
Different types of wood offer distinct visual impacts. For instance, dark walnut exudes a classic, elegant look but might appear too dark in some settings. Oak, being relatively light, often complements modern, minimalist interiors but may not suit every style. Teak, pine, spruce—there are numerous options. Consider in advance which wood will best suit your space.
Tip: Look for wood sourced from sustainable forestry, identified by an FSC certification.
DIY Acoustic Panels: A Step-by-Step Guide
If you're planning to build your own DIY wooden acoustic panels, you'll need some basic DIY skills. Fortunately, making acoustic panels is relatively straightforward. Below, you'll find a simplified guide to constructing panels with a wooden base. Good planning is key to any approach.
Gather the Necessary Materials
Start by calculating how many wooden boards you’ll need, including their size, as well as the slats’ length, width, and thickness. Use the previously mentioned formula (floor area in square metres ÷ 4) to determine the panelled surface area required.
For larger spaces, divide this area into separate rectangles, with each rectangle representing an individual panel. From there, you can calculate how much acoustic fleece you’ll need per panel, as well as the number of wooden slats.
The height of the slats should match the height of the board. To achieve a visually appealing result, ensure all slats are the same width. The gap between slats can be half the slat width but should remain consistent to create a well-proportioned DIY slat wall.
To Saw or Not to Saw?
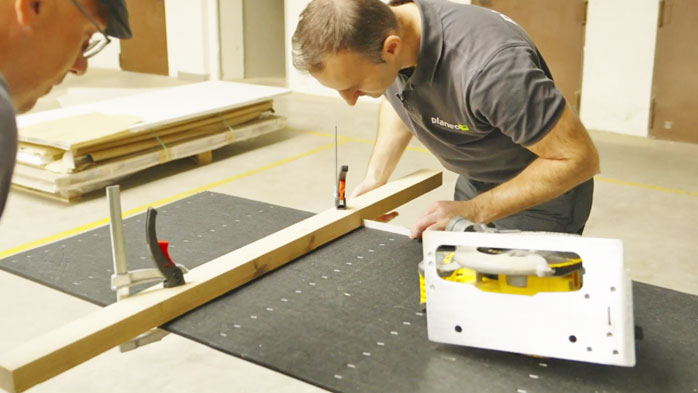
Cutting the wood to size is often the most time-consuming part of building a DIY batten wall. Boards and slats rarely come in the required dimensions, so you'll need to use a table saw. When cutting MDF or OSB boards, always wear a face mask to prevent inhaling dust.
If you don’t own a table saw and don’t want to buy one, you can rent one. Alternatively, many hardware stores offer cutting services for wood purchased in-store.
Using this service saves time, but it may reduce the cost advantage of building panels yourself. If you cut the wood yourself, remember to sand the edges for a smooth, splinter-free finish.
Attaching Acoustic Fleece to the Board
Next, cut the acoustic fleece roughly to size. Some fleeces are self-adhesive, allowing you to stick them directly onto the wooden board. Non-adhesive fleeces can be stapled onto the board. After securing the fleece, trim any excess with a suitable knife. While acoustic fleece is typically black, white variants are also available, offering a unique visual appeal.
Attaching the Slats
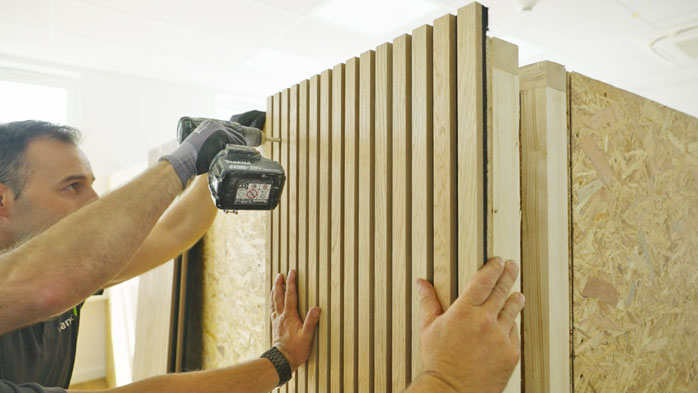
Once the fleece is secured, it's time to attach the wooden slats. Use wood screws, driving them through the (non-fleece-covered) underside of the board into the slats at both their top and bottom ends. Alternatively, nails can be used. To maintain an even gap between slats, use a spacer, which can be made from a wooden strip cut to the desired gap width.
Installing Acoustic Panels
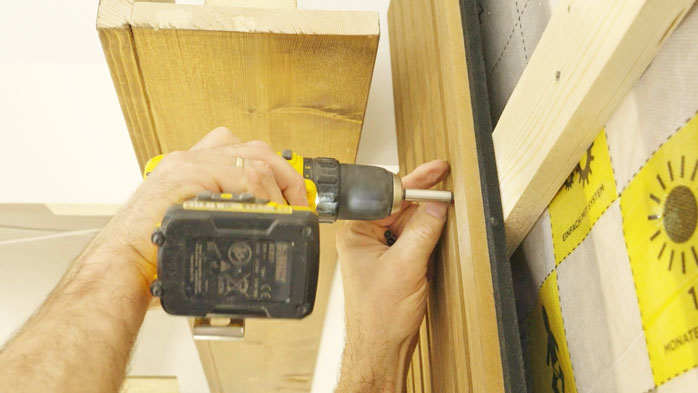
Finally, mount your DIY acoustic panels onto the wall or ceiling. They can be glued or screwed directly onto the wall or fixed to a batten framework. For ceiling installations, adhesive solutions are less reliable; screws are the safer option for secure mounting.
Creative Ideas for Custom Room Acoustics
Acoustic panels can be combined with other elements for added functionality. For instance, panels can double as a coat rack in the hallway or serve as frames around furniture or decor items like a chest of drawers, shelf, or wall mirror, turning them into focal points. Panels can also be equipped with LED lighting for stylish ambient illumination.
For optimal room acoustics, consider integrating acoustic panels into a broader design concept. Rugs, upholstered furniture, and large-leafed houseplants also absorb sound. These plants improve the indoor climate, making them doubly beneficial.
DIY Acoustic Panels: A Quick Summary
As shown in this guide, building your own acoustic panels doesn’t require advanced DIY skills. While cutting the wood to size may take some time, the cost savings compared to store-bought panels are substantial. By choosing from various wood types, you can perfectly match your acoustic panels to your existing interior design. By focusing on both the acoustic and aesthetic functions, you’ll create panels that enhance any room’s overall appeal.
Experience the best service with planeo - because you need it!
No matter what challenges you face with your project, planeo provides you with the right solution. Benefit from the advantages of our services:
- Free samples⁴ for many of our products: Order up to 7 free samples, such as our acoustic panels or other wall coverings.
- Express delivery² - for urgent projects and quick decisions.
- Expert advice¹ - We offer professional consultation through our contact page or answer your questions directly in the comments.
These topics might also interest you
Acoustic Panels as a Coat Rack: A DIY Project
DIY Wall Panelling: A Guide to Stylish Walls
How to Cut Acoustic Panels Perfectly – A Foolproof Guide
What Are Acoustic Panels – Focusing on Function and Design
Bathroom Wall Cladding Instead of Tiles – A Tile-Free Approach
Acoustic Panels – Adhesive or Screws: Which Is Better?
Step-by-Step Guide: Install Wall Panels