Variant: DIY-Instruction
 button
1. preparation
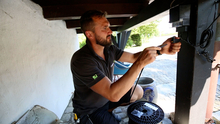
Before mounting the luminaires, determine the position of the transformer and connect it. Choose the position of the transformer so that it is centrally located and allows short cable runs. Next, plan the position and type of lighting. Once you have determined the positions, the main cable is distributed and connected to the transformer. Insulate the cut edges with the caps provided. Now hide the cable. The procedure varies depending on the type of lighting.
ATTENTION: Calculate which transformer is needed. To do this, you should pay attention to the wattage of the lamp you want to use. These wattages per spot are added to the number of lamps. This results in the transformer. We recommend that you choose the next largest transformer so that more spots can be connected later.
 button
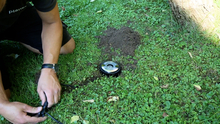
For dimmable and non-dimmable floor spots, it is important to remember that the cable must be buried if it cannot be covered with paving stones/patio slabs/patio boards.
ATTENTION: Dig the cable deep enough into the ground so that it is not damaged when scarifying/lawn mowing.
 button
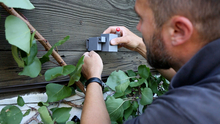
With wall lights, you can simply hide the cable in a cable duct.
 button
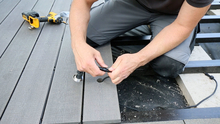
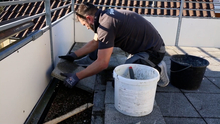
Here, the cable is hidden under the substructure of the composite decking boards or in the chippings under decking slabs or paving stones.
 button
Depending on the location (patio or walkway lighting), the cable is hidden under the patio or in the ground.
 button
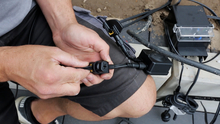
After the cable has been hidden, you can attach separate circuits as desired. Paths and bushes can be switched separately if you interconnect a receiver with a T-connector to the main cable.
 button
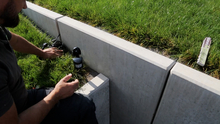
You can also integrate our motion detectors into our system to light up certain areas only when you are there.
2. attaching & connecting lighting
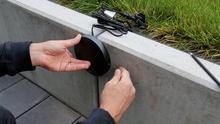
The further procedure for fixing the lighting also differs depending on the type of lighting.
 button
Now attach the wall lights or free-standing luminaires. Use the fixing material supplied to screw the wall lights into the substrate. Mark the points with a pencil, which are then drilled. Then hammer the dowels into the pre-drilled holes. Before screwing on the luminaire, we recommend sealing the drill holes with silicone to protect against moisture penetration. Now connect the luminaires to the connector using the main cable.
 button
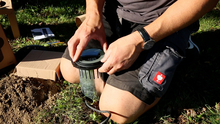
Once the cable is connected, prepare the spotlights. This involves placing the light bulbs in the spotlights. Dig holes so that the recessed spotlights can then be placed in the ground or subfloor. The mounted lights are now connected to the cable with a T-piece. Finally, you can bury the cable or hide it under stones.
ATTENTION: Before inserting the lamp into the ground, you can adjust the light intensity on the back of the dimmable lamp by means of a push button.
 button
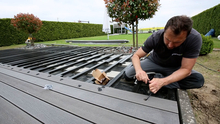
First, the first composite decking boards can be laid up to the first recessed light mark. Drill the marked areas with a hole saw and connect the recessed luminaire to the main cable using the T-connector. Check that the recessed luminaire is working properly before proceeding with the installation of the next boards.

